

Taking Your Photography to New Heights: A Guide to Aerial Landscapes from Planes and Helicopters
There are few experiences in photography more exhilarating than seeing the world from above. A familiar coastline becomes an intricate mosaic, a winding river transforms into a shimmering silver thread, and mountains reveal their true, jagged grandeur.
Whilst drones have made aerial photography accessible, there is still an unmatched magic to being up there yourself, in a small plane or a helicopter, capturing landscapes that feel utterly new.
Photographing from a moving, vibrating aircraft through a small window requires a different set of skills and technical approach than ground-based landscape photography. Here’s how to transition from shooting on the ground to shooting from the sky and bring back spectacular images.
Part 1: Pre-Flight Preparation
Aerial photography starts on the ground. You have to be prepared before the engine even starts.
Know Your Platform: Plane vs. Helicopter
Helicopter - Generally considered superior for photography. They are more stable, can hover (briefly), and, most importantly, you might have the option for a "doors-off" flight. This eliminates glass reflections and maximises your field of view. They operate at lower altitudes and speeds.
Plane (Cessna) - More common for scenic tours and better for covering long distances. You will usually be shooting through a window. The wings can also obstruct your view (unless it's a high-wing aircraft), but they are excellent for broad, distant vistas.

Prepare your gear
Put a fresh battery and memory card in your camera before the flight, flight time is limited (And extremely expensive), the last thing you want to do is miss lots of great shots whilst you attempt to change your camera battery or memory card halfway through a flight. Ensure your lenses are clean and that you have a spare battery in your pocket in case you burn through a full battery.
Note: Space is at a premium on board small aircraft, so avoid bringing anything that you don’t need!
Lens Choice
If you only bring one lens, make it a versatile mid-range zoom, such as a 24-105mm or 24-120mm. An ultra-wide-angle lens (16-35mm) can sometimes capture too much of the aircraft (wingtips, skids, window frames). A telephoto (70-200mm) can be fantastic for details, but requires extremely fast shutter speeds due to the vibration. Prime lenses are tricky; you cannot easily move closer or further from your subject.
Note: Do NOT use a Polariser if shooting through aircraft glass. Polarisers interact with the stress patterns in the acrylic windows, creating bizarre, unrecoverable rainbow patterns (the "cockpit effect").

Secure Your Gear
If you're on a helicopter with doors-off, everything must be strapped… A falling camera can be lethal. Use a robust neck strap and ensure your lens hoods and battery grips are secured. In a closed cabin, a strap is still highly recommended to prevent dropping gear onto the pilot's controls.
Clothing
Wear dark, plain clothing (ideally black). This significantly reduces reflections of your own torso appearing in the window glass. It's also important to wear plenty of layers, including gloves; the temperature up there can be significantly colder than the temperature on the ground, and the wind chill can easily make it unbearable!
Part 2: Combating the three main challenges of Aerial Photography
The moment you lift off, you are fighting three main adversaries: Vibration, Speed, and Glass. Here’s how to deal with them:
Challenge 1: Vibration
Every aircraft vibrates. This high-frequency motion is the primary cause of blurry aerial photos. The solution to this is to use a fast shutter speed; this is the golden rule of aerial photography. You must prioritise freezing the motion over keeping your ISO low. Your shutter speed needs to be significantly faster than the traditional 1/focal length rule, to be safe, you can start by tripling it (Example: If shooting at 100mm, use a shutter speed of 1/300 or faster).
Do not let your camera or lens physically touch any part of the aircraft (the glass, the frame, your own seatbelt) as this will transmit significantly more vibration. Use your body as a shock absorber. Brace your elbows tightly against your torso and hover to absorb the vibrations.
Challenge 2: Speed
You are moving fast, which means your subject is constantly shifting. Use high-speed continuous shooting mode (Burst). When you see a great scene, fire off a short burst of 3-5 frames. Often, the first or last shot will be the sharpest or have the best composition as the angle constantly changes. Don’t just focus on shooting, though. Look ahead to see what is coming up so that you can plan how to shoot it and be prepared. Anticipation is the key to success here!
Challenge 3: Glass (Reflections)
Acrylic windows are rarely optically perfect and create glare. Shoot head-on. To minimise distortion, try to shoot as close to a 90-degree angle (perpendicular) to the glass as possible. Shooting at sharp angles through acrylic creates soft, muddy images. Get your lens hood as close to the glass as possible without touching it. Keep a rubber lens hood on hand; you can sometimes gently rest the rubber edge against the window (as long as it doesn't transfer vibration) to completely seal out internal cabin reflections.
Bring a clean microfiber cloth and ask your pilot politely if they can clean your window before the flight (many acrylic windows cannot be wiped when dry). On some aircraft, the windows can be opened during the flight. Always ask your pilot before doing so and ensure that even with an open window, your camera stays inside the aircraft at all times.

Part 3: Recommended Settings
As mentioned above, the priorities in the air are different from those on the ground. Shutter speed is king to avoid motion blur from movement and vibration. The table below shows some recommended settings to get you started, but like always, you will need to check your shots and adjust your settings accordingly throughout the flight.


Part 4: Tips for Better Aerial Composition
Once your settings are locked in, focus on artistry. The view is dynamic, and your ability to find and choose a composition must be quick.
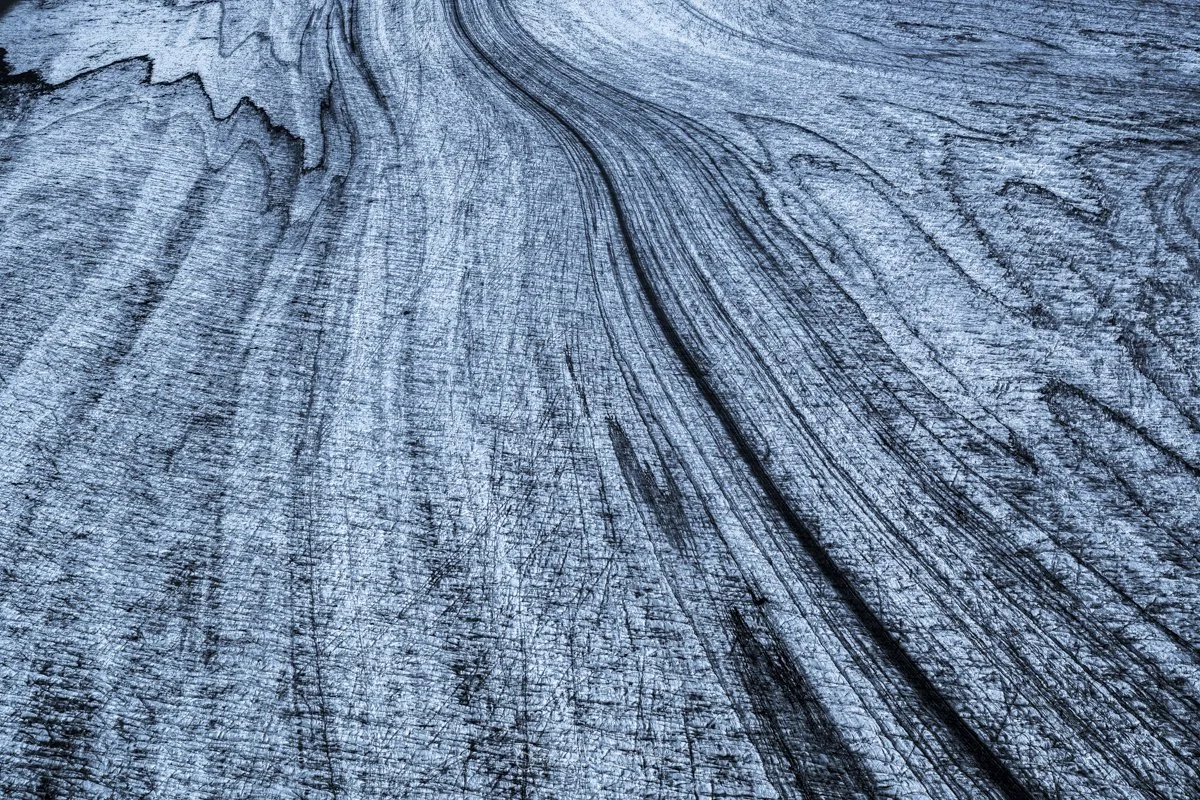
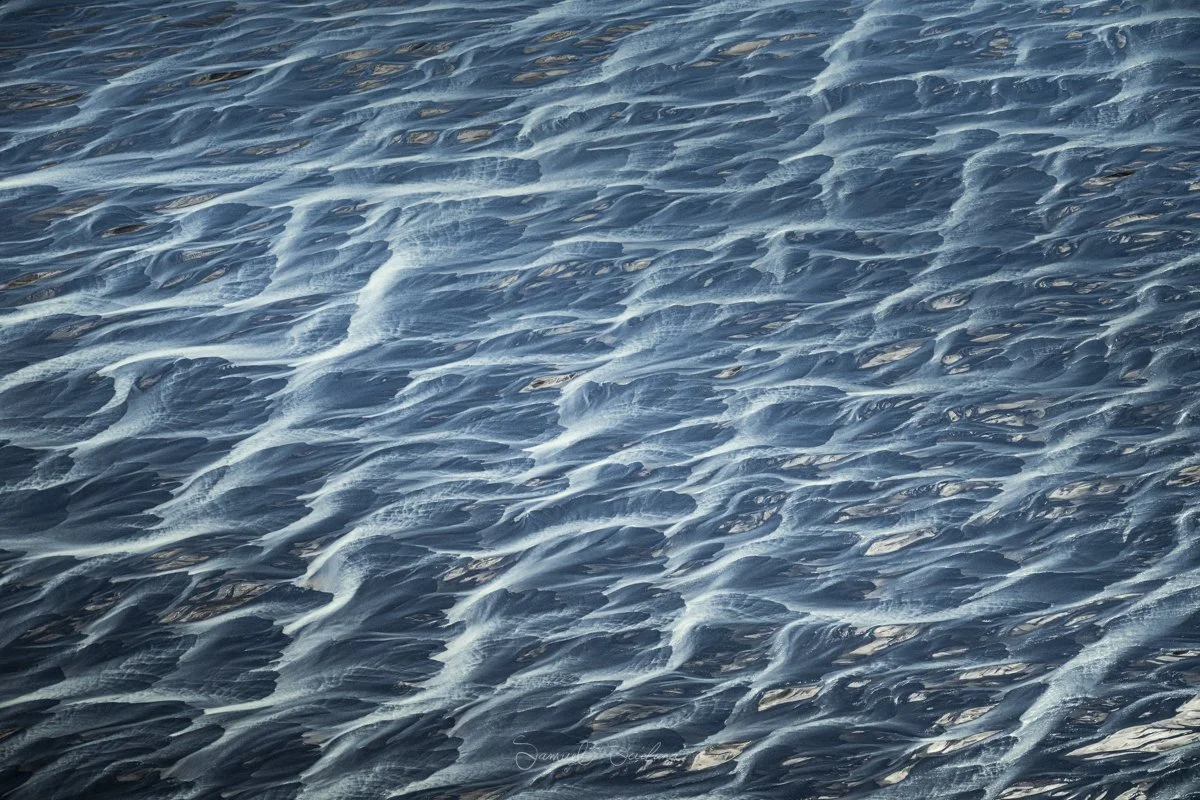
Seek Out Geometry and Abstracts
When you look straight down (a "top-down" or "plan view" perspective), landscape features become abstract patterns. Look for the geometry of agricultural fields, the symmetry of a road cutting through a forest, or the textures of a river delta. This is where aerial photography shines.
Include a Sense of Scale
A vast glacier can look featureless and small from 3,000 feet. Look for elements that provide context and scale. Including a lonely highway, a tiny lighthouse, or another small vessel on a river can instantly convey the true magnitude of the scene.

Change Perspectives
Ask your pilot to bank. A "banked" turn (where the aircraft tilts) often gives you the best opportunity to shoot perpendicular to your window glass. It changes a standard side-window view into a dynamic top-down look at the landscape rushing beneath you.
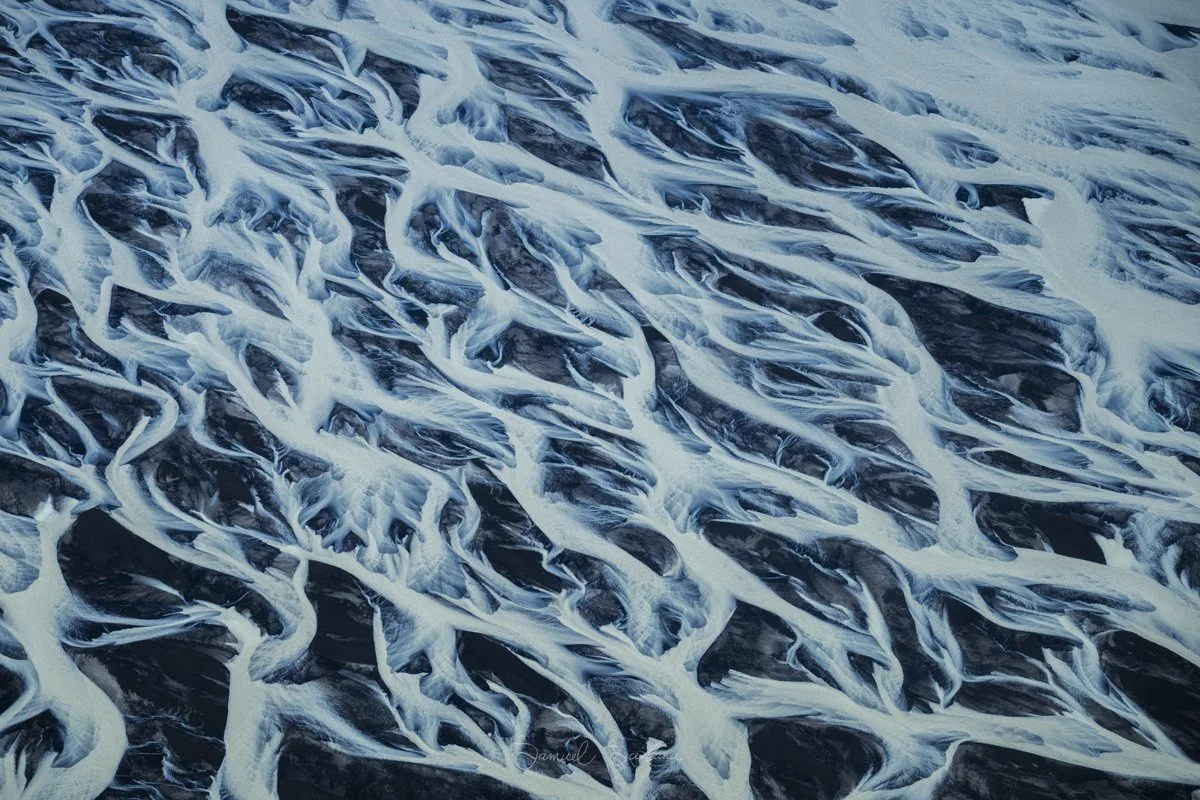
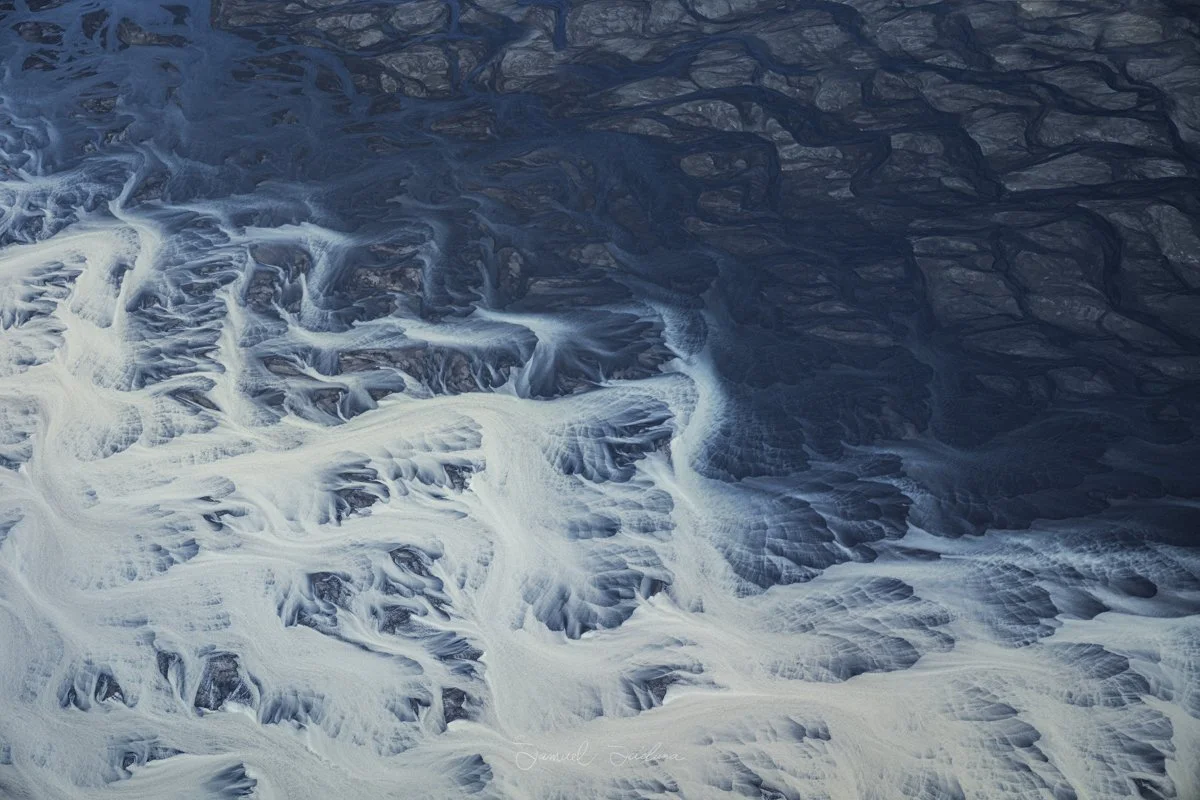
Utilise "Leading Lines"
Aerial perspectives reveal leading lines that ground-based photographers can only dream of. Use natural winding rivers, man-made highways, or the sharp ridges of mountains to lead the viewer’s eye through the frame from foreground to the horizon.

Review Frequently (But Quickly!)
Every few minutes, take a second to look at your LCD screen. Zoom in to 100%. Is your focus truly sharp? Are you fighting severe haze? This quick check can tell you if you need to bump up your shutter speed even higher or change your focus target.

5. Planning, communication and flight time
Planning your flight is key. Before flying over a remote part of the highlands of Iceland, I spent 15 minutes talking to the pilot to explain what our main objectives (Targets) were, and coming up with a flight plan in order for us to capture these targets successfully.
Throughout the flight, you will be wearing a headset and will be in constant communication with the pilot. If you missed a shot or spotted something that wasn’t on your original plan, you can ask the pilot to do another pass, to get closer or stay further away from your target.
Flight times are usually agreed beforehand; You need to factor in the time required to fly to your objectives and back, not just the time spent photographing your objectives. The flight I did with my clients in Iceland was 90 minutes long; the aircraft is usually fuelled for a longer flight, meaning you have the option to extend at an additional cost if you choose to.

Conclusion
Photographing landscapes from the air is a challenging, fast-paced discipline, but the rewards are unparalleled. By conquering vibration with fast shutter speeds, managing reflections, and focusing on unique geometry and scale, you will capture images that are not just views, but spectacular, elevated portraits of the world we inhabit.