Winter transforms the landscape into a minimalist masterpiece, but it is arguably the most challenging season for a landscape photographer. Between the technical struggle of exposing snowy scenes, the impact cold weather has on equipment, accessibility to locations, and the physical challenge of sub-zero temperatures, success requires a specialised and considered approach. Although challenging, Winter is my favourite time of year to shoot as the conditions provide unique foregrounds that are ever-changing.
Here are 10 tips to elevate your winter landscape photography:
1. Overexpose for Pristine Snow
Your camera’s light meter is designed to see the world as 18% neutral grey. When it sees a field of bright white snow, it thinks the scene is too bright and automatically underexposes it, turning your wonderfully snowy scene a muddy blue-grey.
The Tip: Use Exposure Compensation and dial in +0.7 to +1.5 EV.
Example: If you are shooting a lone tree in a snow-covered field, your camera will try to make the snow grey. By pushing the exposure to +1.0, you keep the snow white while maintaining detail in the tree bark.

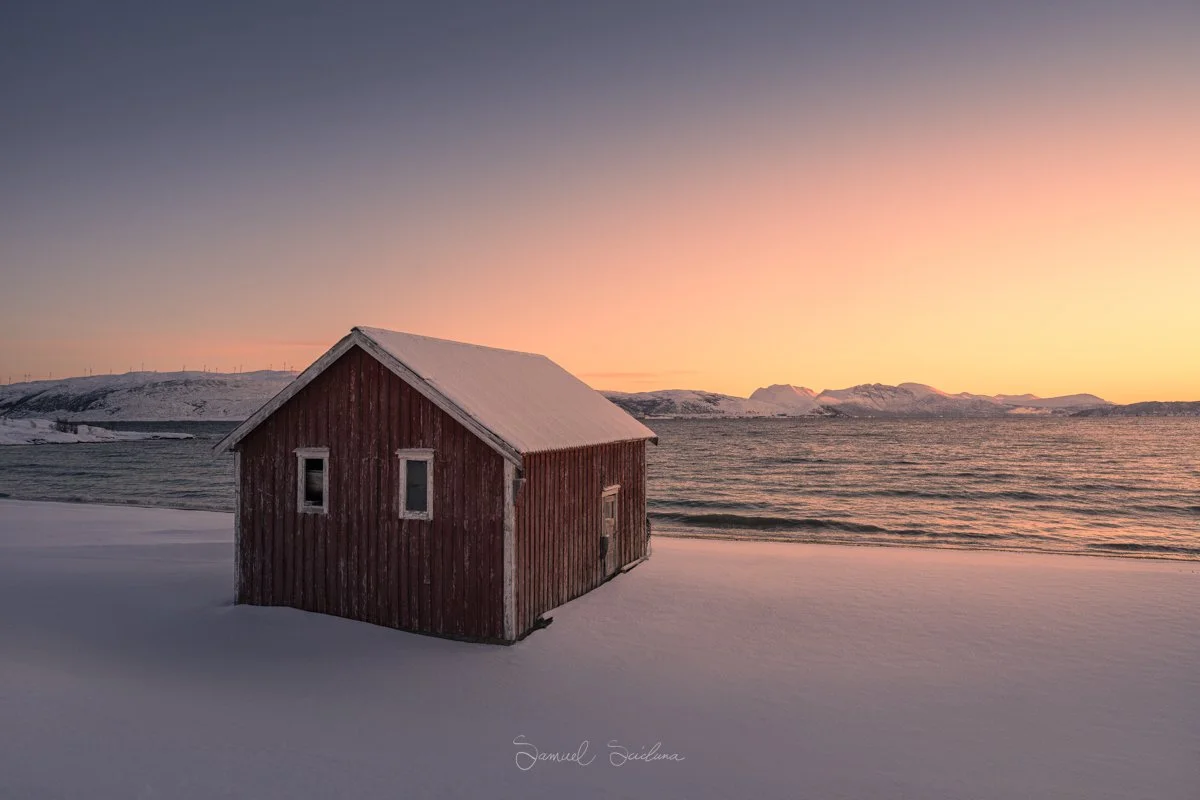
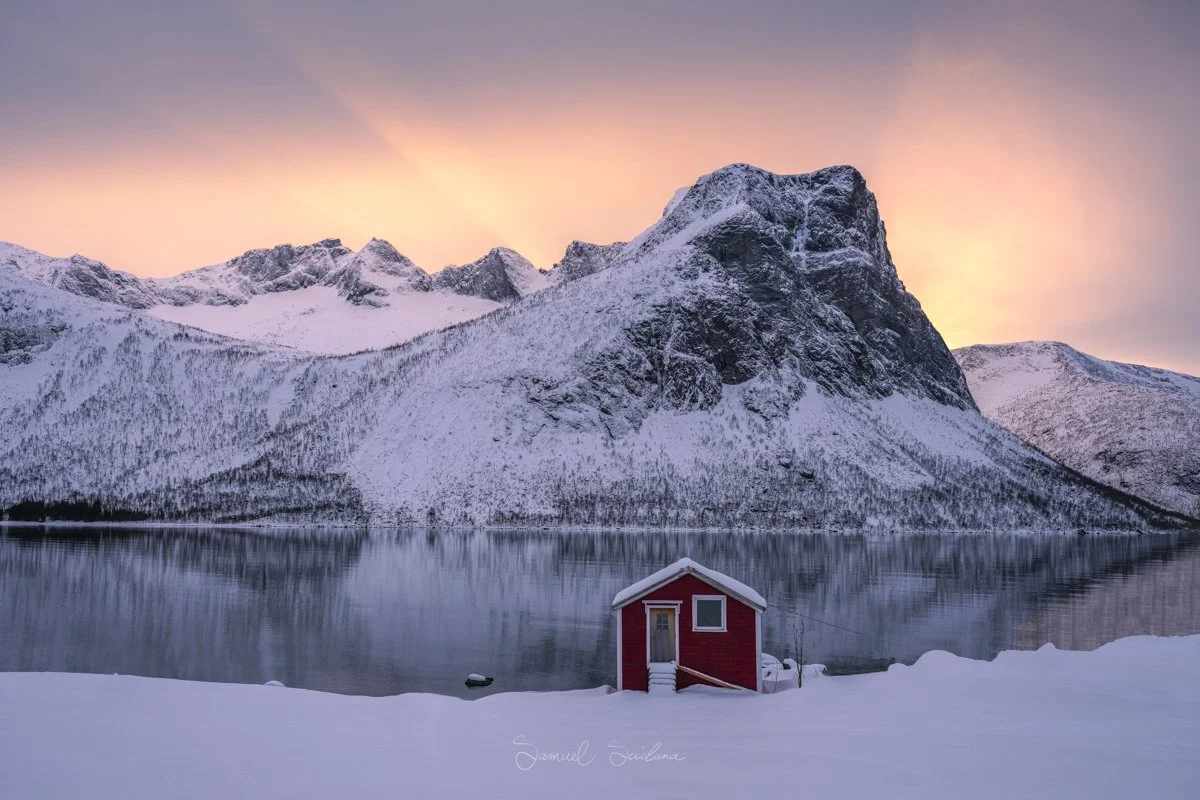
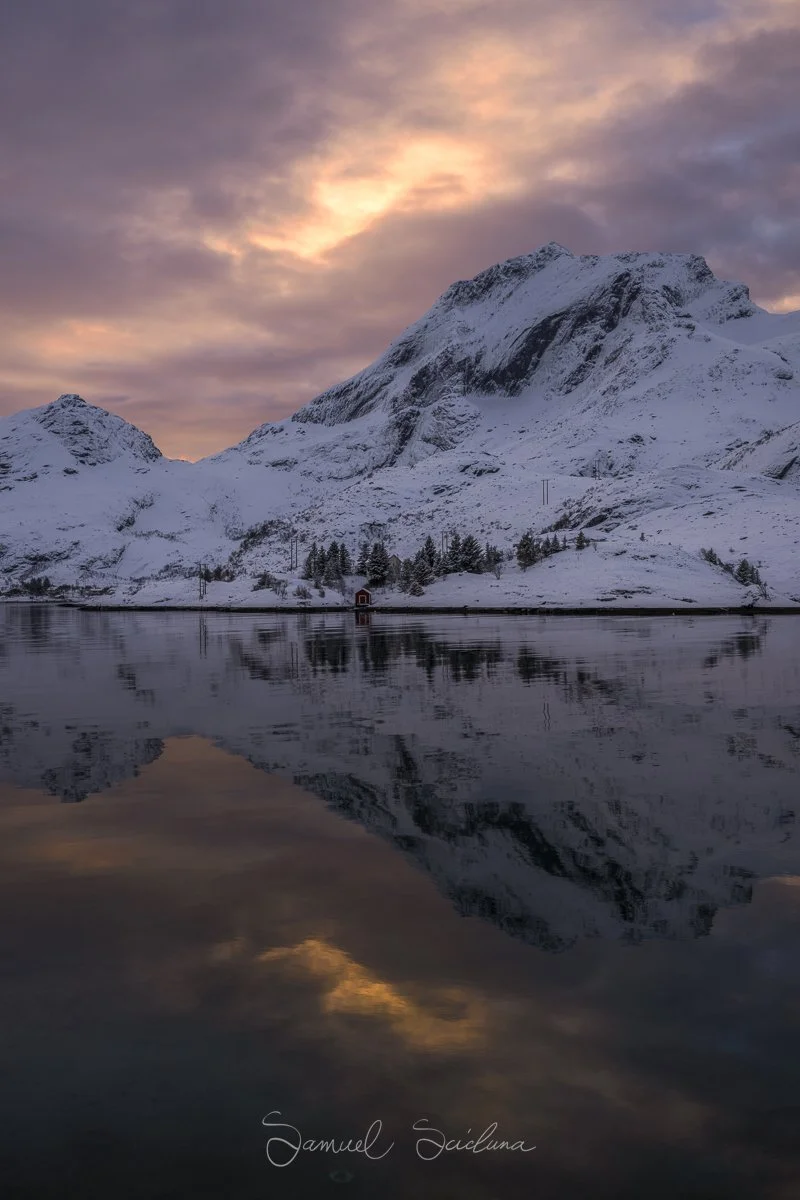
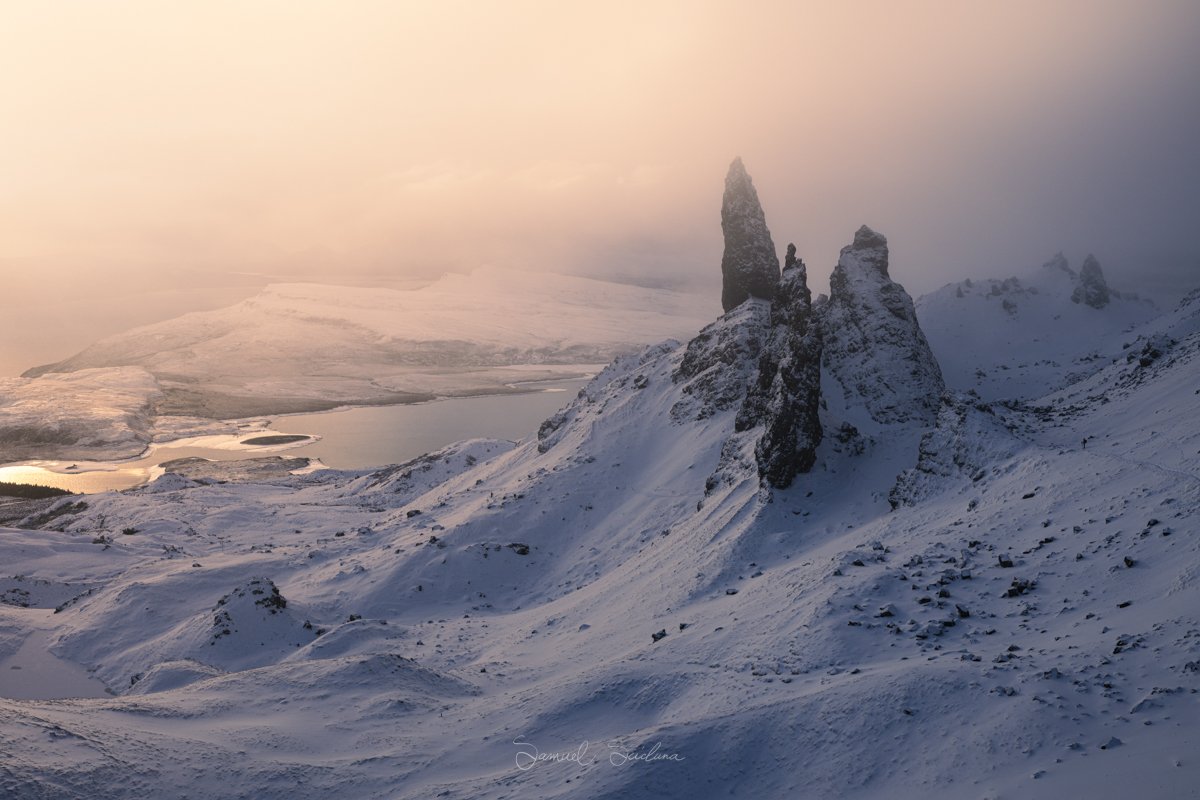
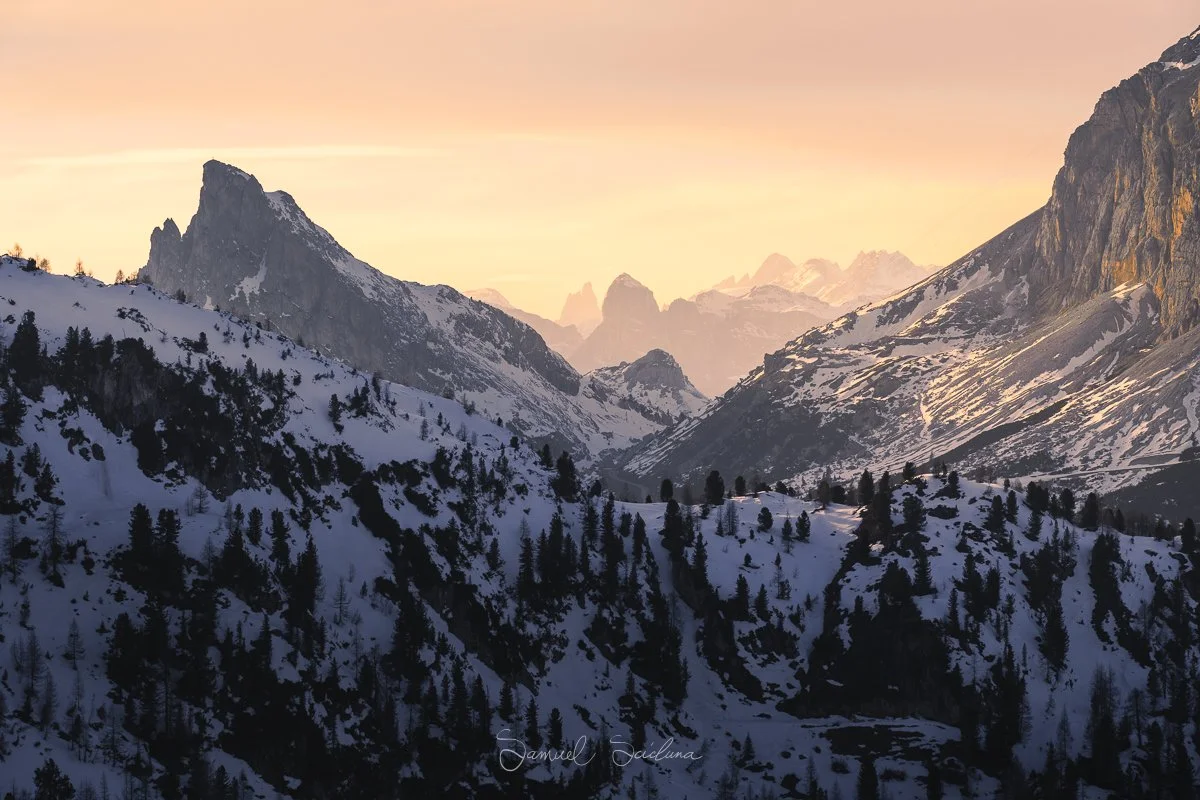
2. Master the "Blue Hour" Contrast
In winter, the sun stays low on the horizon, producing beautiful light, but the show doesn’t stop once the sun has set. The period after sunset (Blue Hour) is just as beautiful and is sometimes when the magic happens. The deep blue tones of the sky reflect off the snow, creating a monochromatic, ethereal feel.
The Tip: Look for a warm light source to create colour contrast.
Example: Frame a glowing orange tent or a cabin with lights on against the deep blue twilight of a snowy mountain range. The blue/orange contrast is a classic colour theory win.

3. Use a Circular Polariser (CPL)
A polariser isn't just for blue summer skies. In winter, snow acts as a massive reflector, bouncing light in every direction and creating "glare" that washes out texture. Using a CPL can help bring back some of the texture and detail in the snow.
The Tip: Use a CPL to cut reflections on ice and snow.
Example: When shooting a frozen river, a CPL will remove the glare from the ice's surface, allowing you to see the frozen bubbles or rocks beneath the water, significantly increasing the "depth" of the shot.

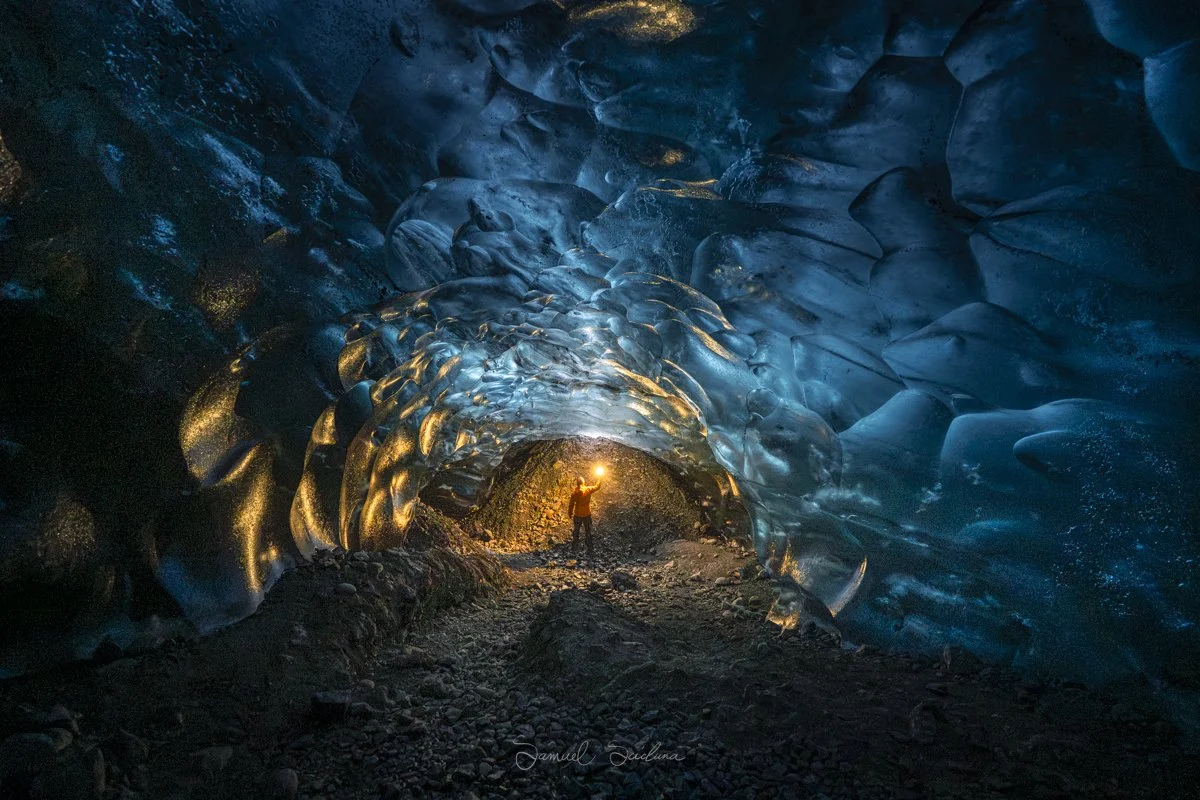
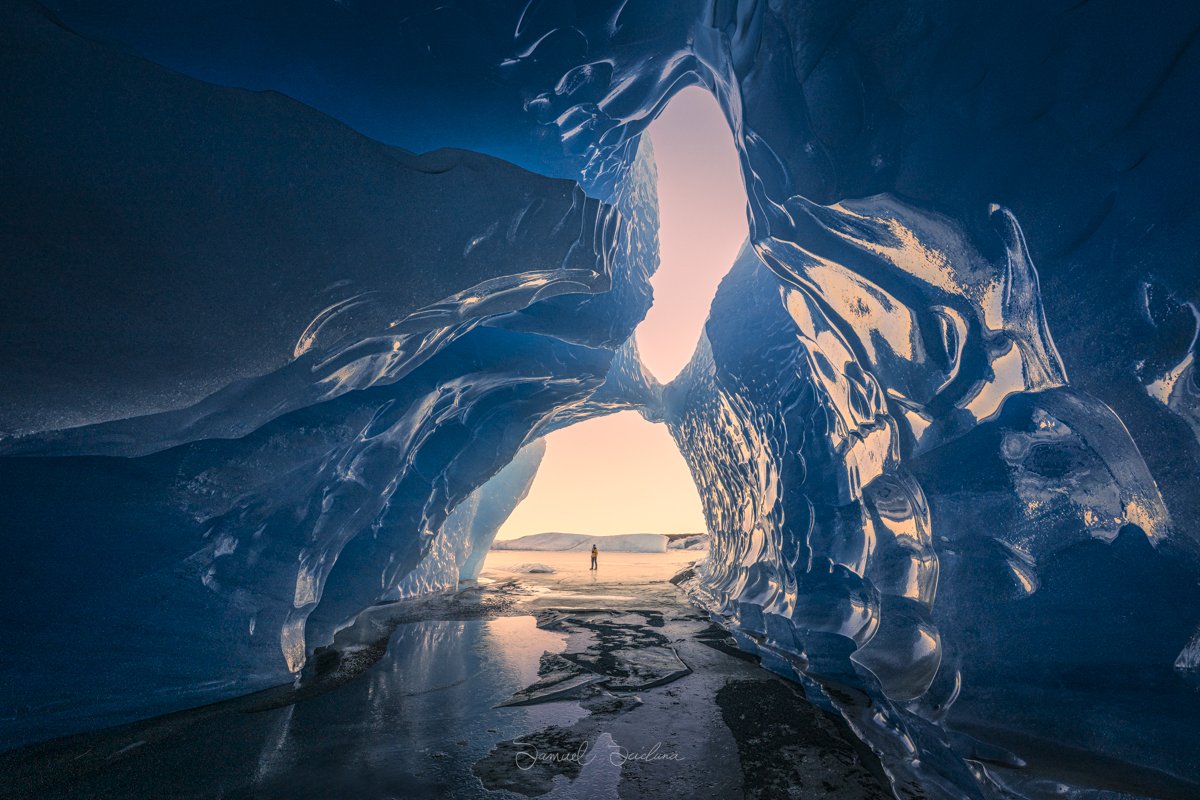
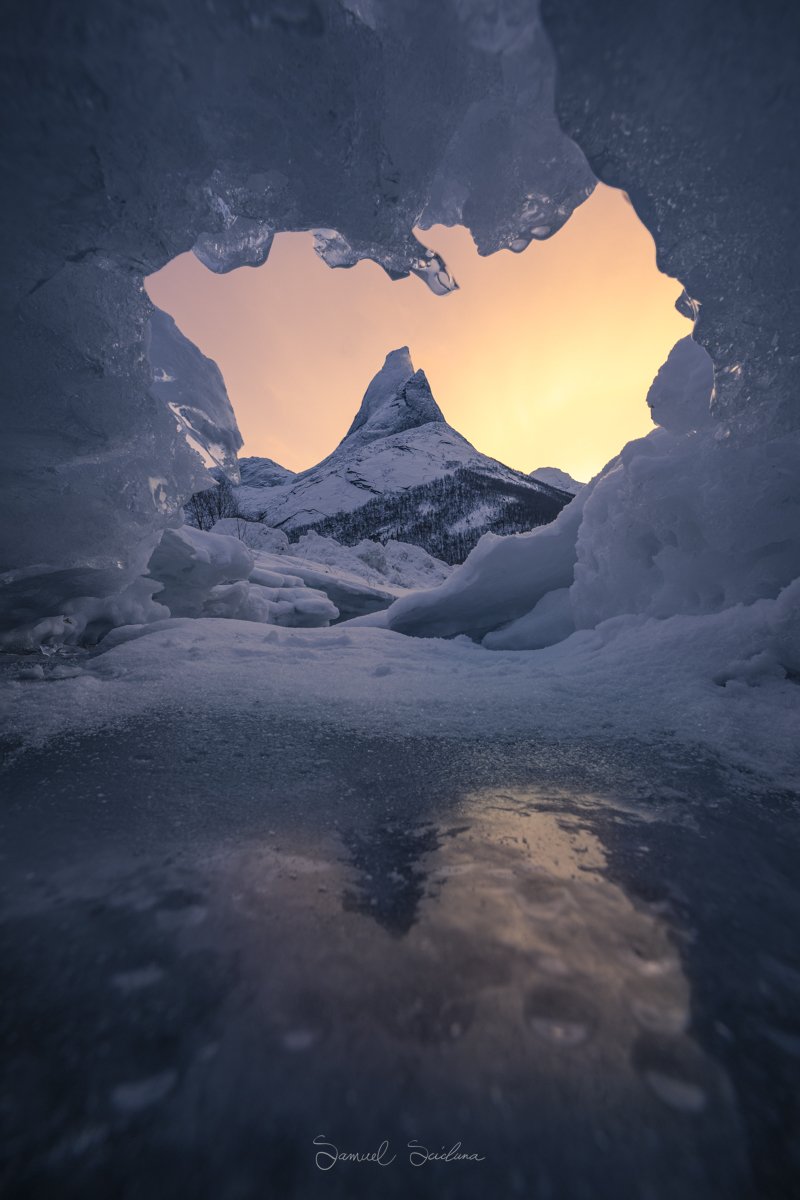
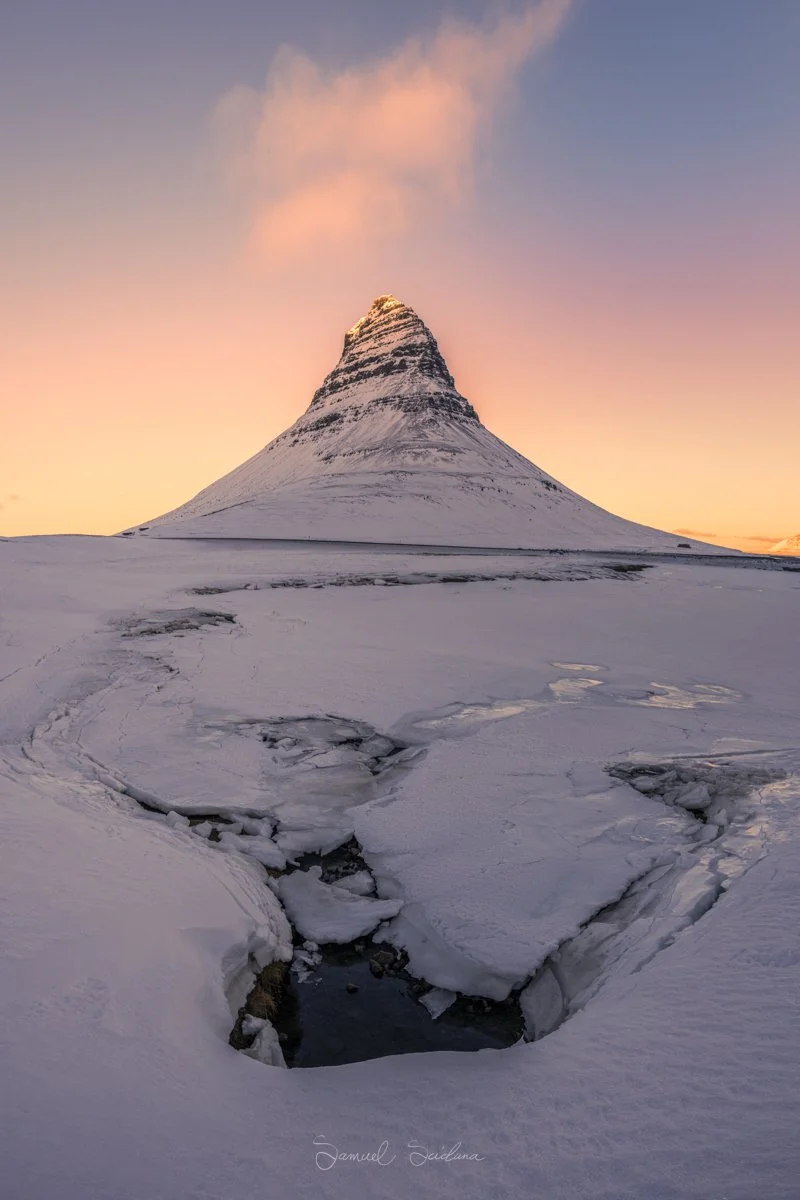
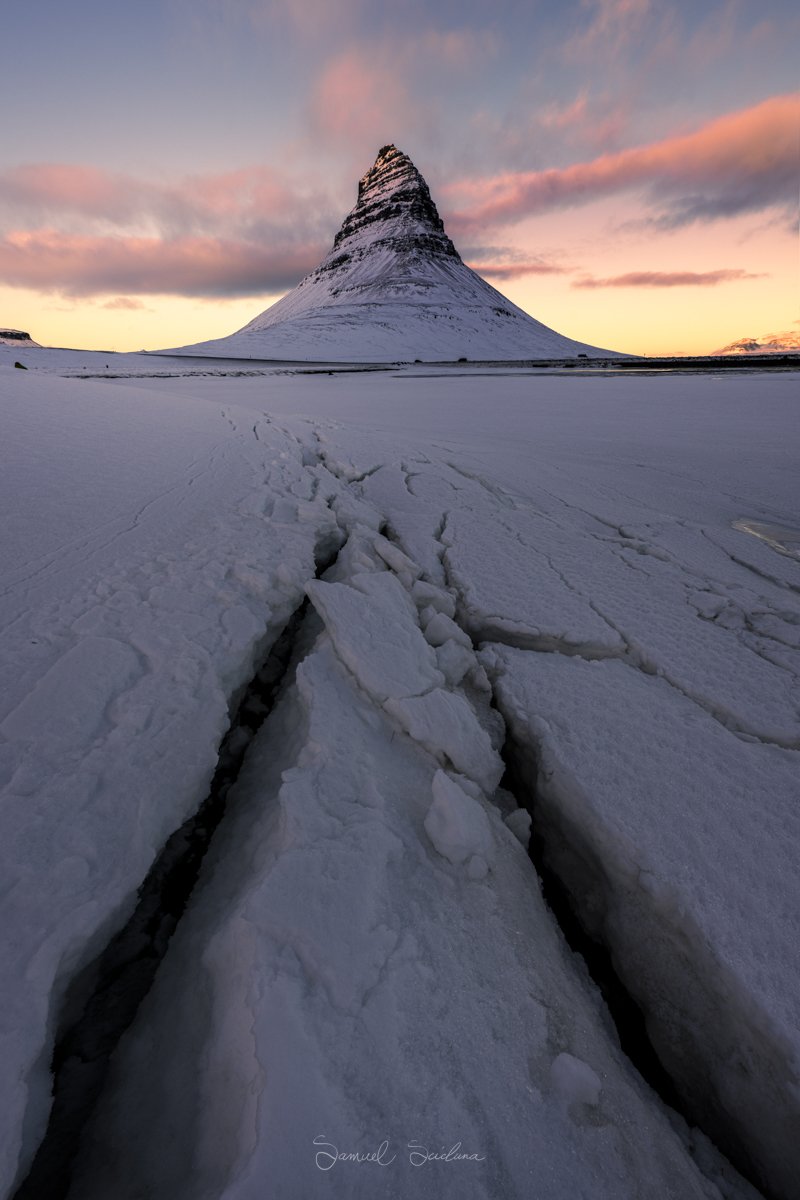
4. Seek out unique compositions
After a significant cold spell, rivers can freeze over, sometimes creating stunning formations. Use these unique formations as the backbone to your compositions.
The Tip: Look around and study the scene before you start shooting, also be conscious of your footprints, try to always approach a scene from the back, so that you do not put footprints in your scene.
Example: The below example looks like the view out of an ice cave, in reality, it’s a cavity on a frozen river that is no larger than 1 foot wide and 1 foot high, but by placing my camera there (No tripod), I was able to frame the mountain and make a completely unique composition, a composition which will likely never be possible again as the landscape is ever changing.

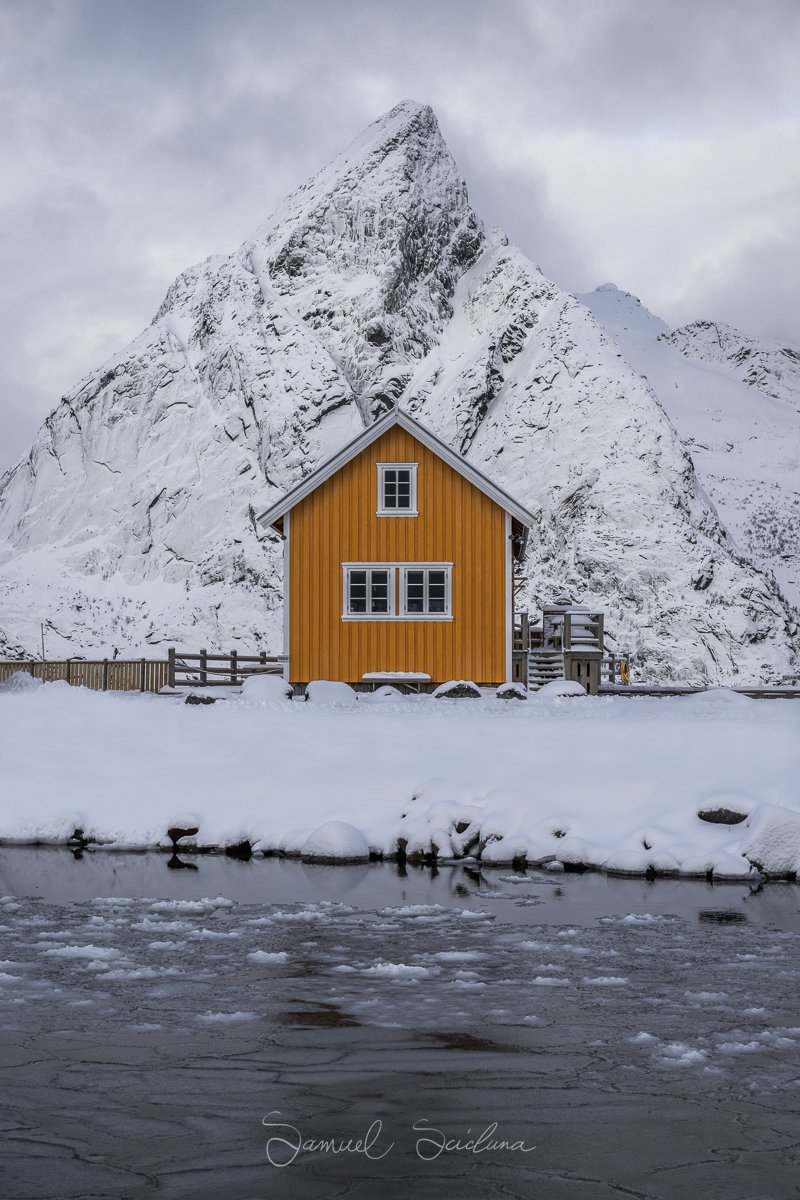
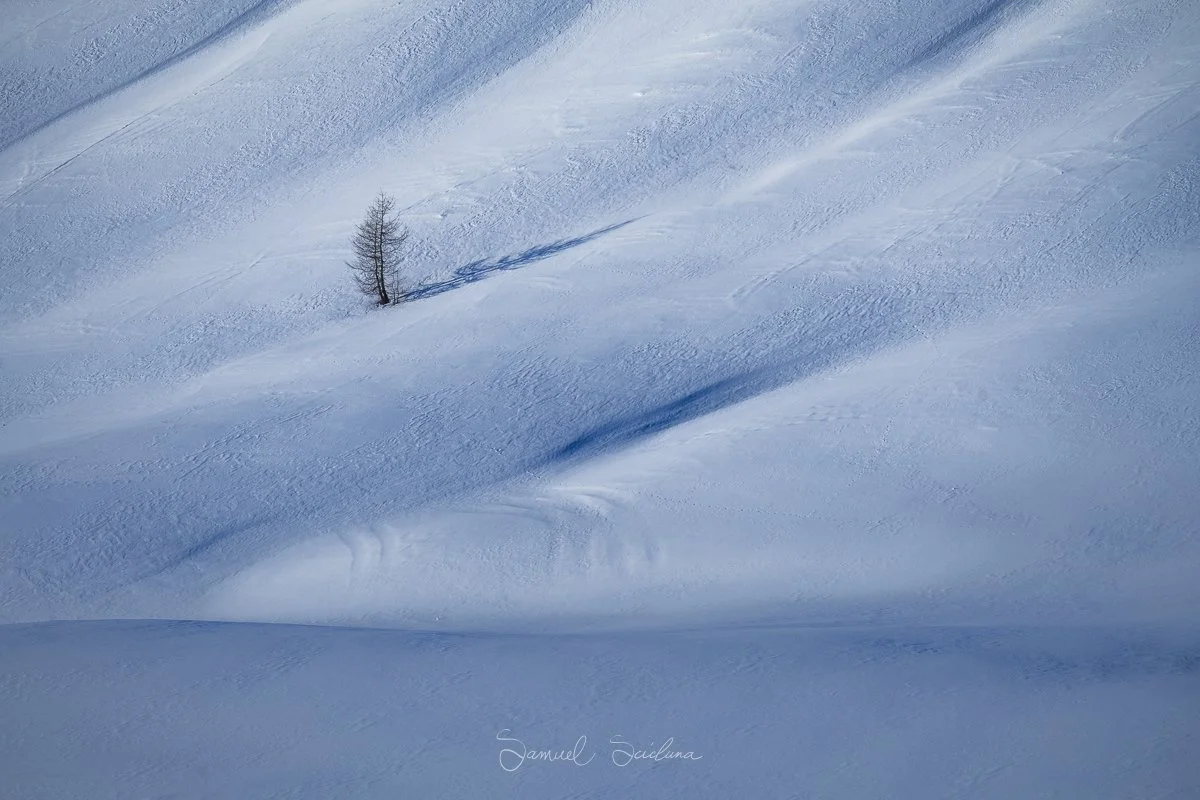
5. Emphasise Minimalism
Winter is the season of "subtraction." Heavy snow covers distracting elements like dead grass, rocks, and other distractions, leaving you with a clean canvas.
The Tip: Look for simple compositions with a single focal point.
Example: A lone tree in an otherwise featureless sowy landscape will stand out as a clear subject.
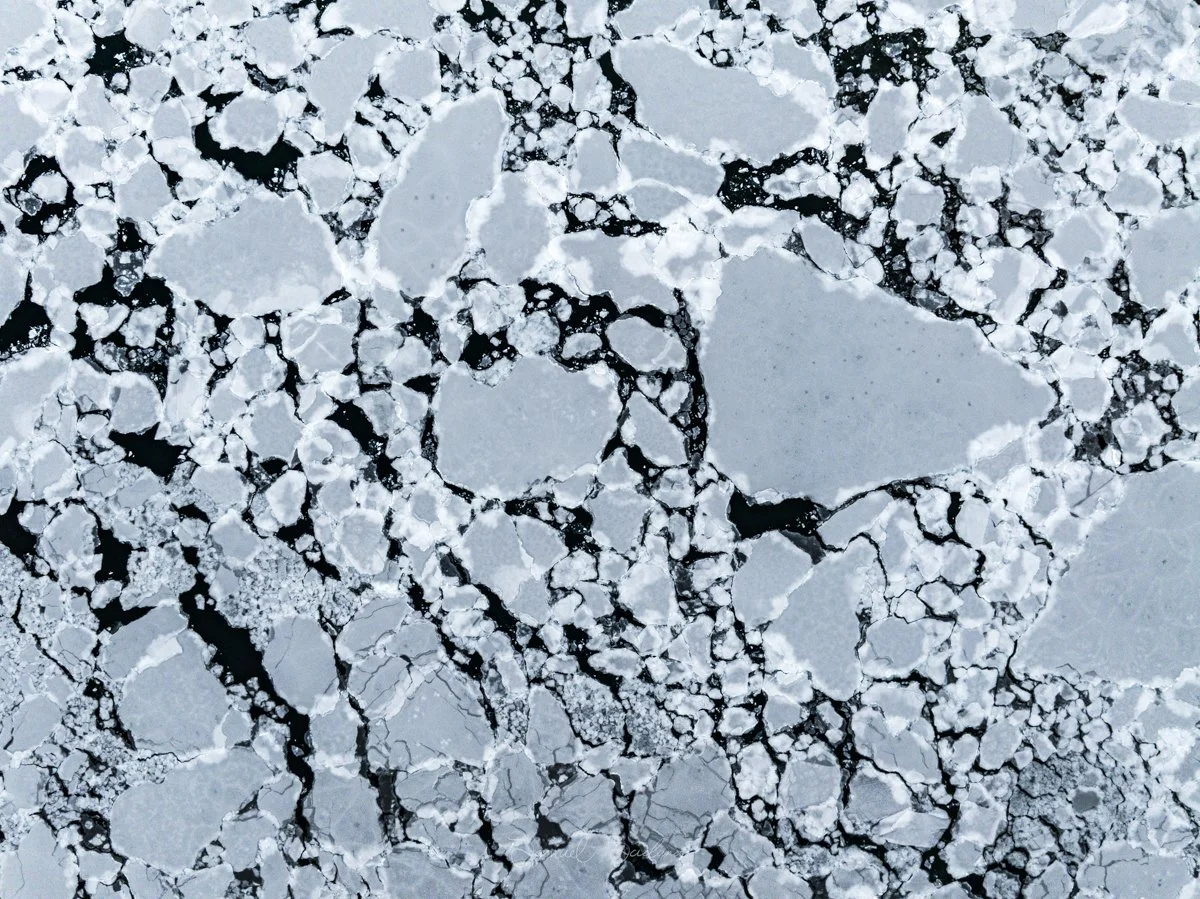
6. Capture the Textures of Winter
Hoar frost, sea ice and frozen puddles can all make unique foreground or abstract subjects.
The Tip: Use a Macro lens for hoar frost or a drone to capture cracked sea ice.

7. Manage Your Batteries
Cold temperatures slow down the chemical reactions in lithium-ion batteries, causing them to "die" much faster than usual. This is not just true for your phone, but also for camera and drone batteries.
The Tip: Keep spare batteries in an inside pocket close to your body so that they stay warm.
Example: When your camera shows that your battery is low, swap it for the warm one in your pocket. Often, the "dead" battery will recover once it warms up again.
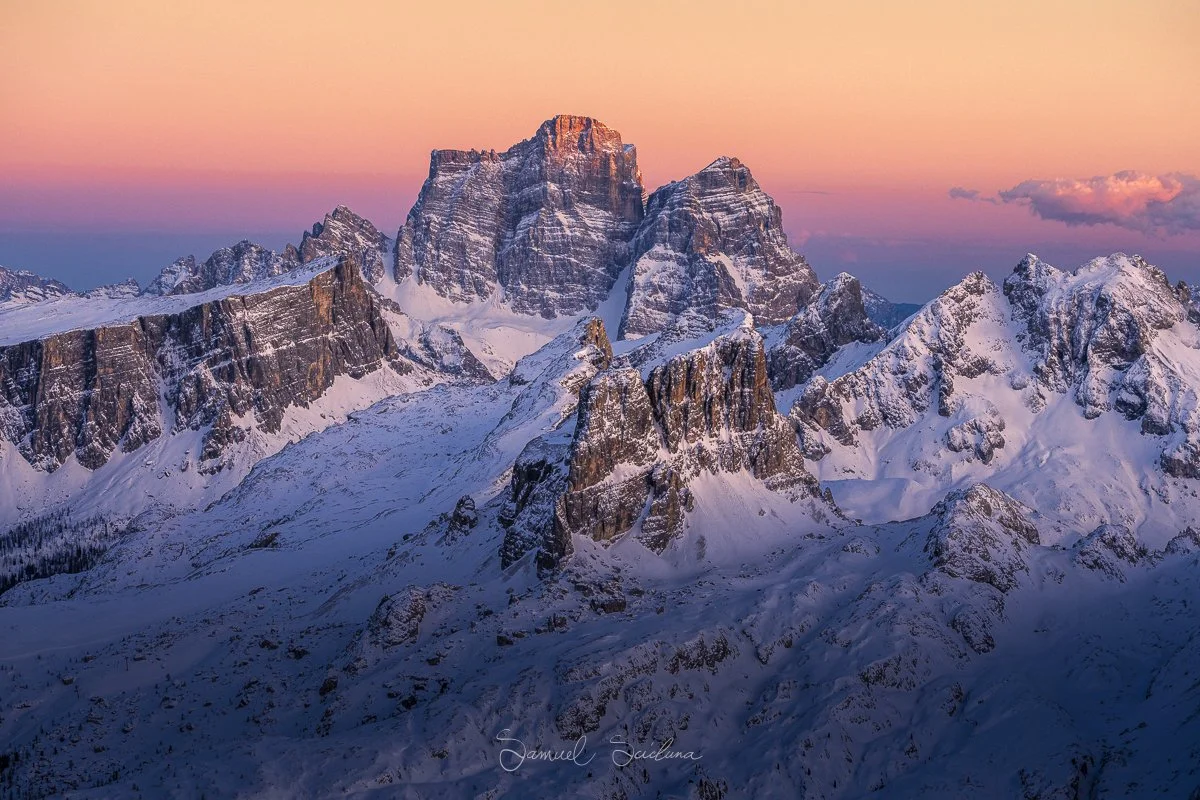
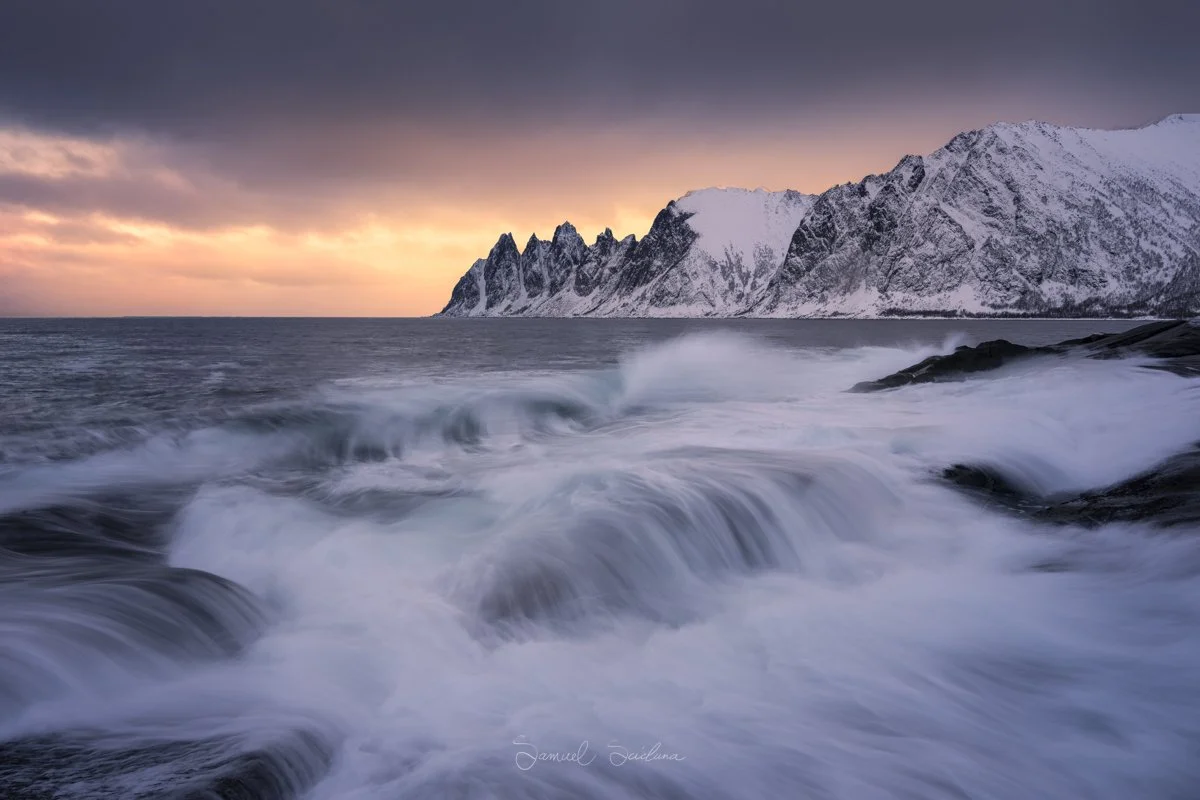
8. Look for Compression in the Mountains
Snow-capped peaks often look cluttered when shot wide. Use a telephoto lens to compress the layers of the landscape.
The Tip: Use a lens in the 100mm to 400mm range to isolate snowy mountain peaks and create an impactful image.
Example: Photographing a series of mountain ridges during a snowstorm. The telephoto lens will stack the ridges on top of each other, while the falling snow creates "atmospheric perspective," making each successive ridge appear lighter and more mysterious.
9. Use "Leading Lines" in the Snow
Fresh snow is beautiful but can sometimes be featureless. You need something to lead the viewer’s eye through the frame.
The Tip: Use footprints, animal tracks, or partially buried streams as lines.
Example: A set of fox tracks winding through the snow toward a distant barn creates a narrative and a visual path that leads the viewer through the image.

10. Prevent "Lens Fog" When Moving Indoors
The biggest danger to your gear isn't the cold; it's the move back into the warmth. Placing frozen camera gear into a warm room causes instant condensation inside the lens and body.
The Tip: Put your camera in a sealed Ziploc bag before going inside, and where possible, leave your gear in your camera bag as these are generally quite well-insulated, and will allow the temperature of your gear to adjust gradually.
Example: Before you enter your hotel or car, seal the camera. The condensation will form on the outside of the bag, allowing the camera to warm up slowly to room temperature over the next hour.

Bonus Tip:
Winter is also the time when the you can potentially visit ice caves, which are one of my favourite subjects in landscape photography. I have written two blogs about Ice Cave, the first is about understanding ice caves, and the second is about how to photograph ice caves.

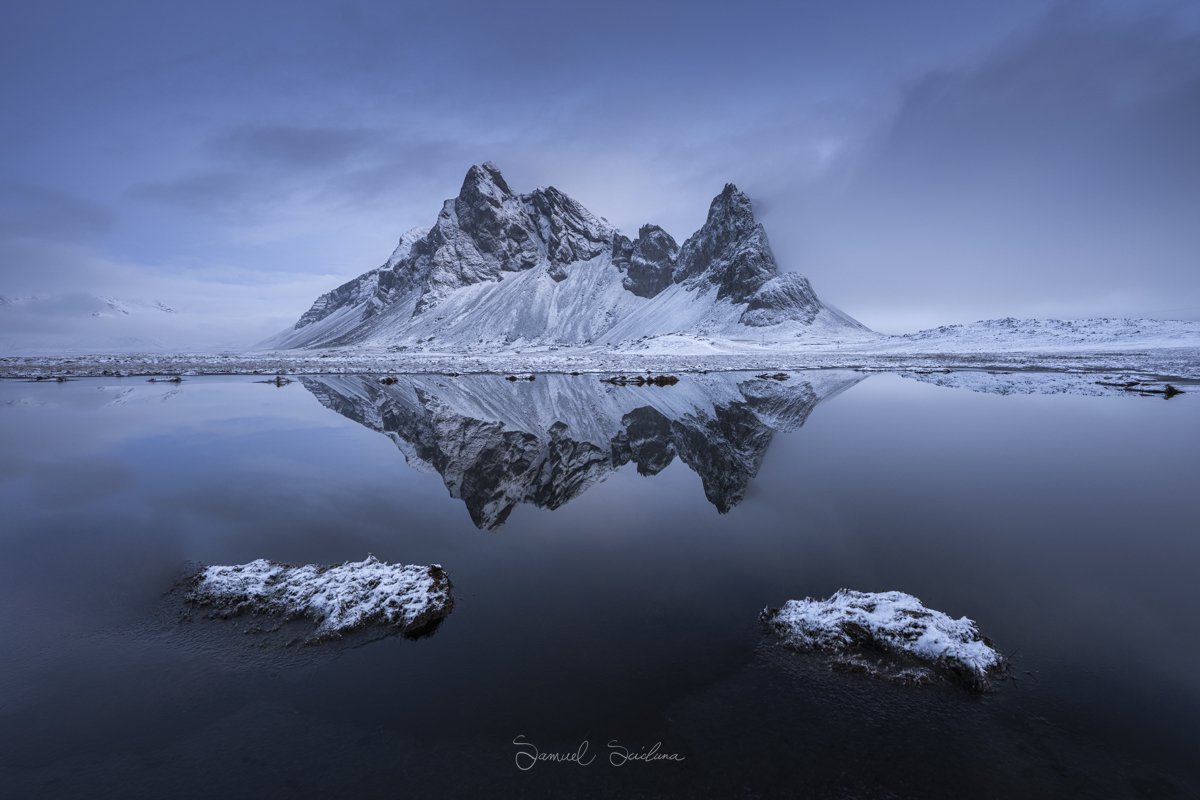
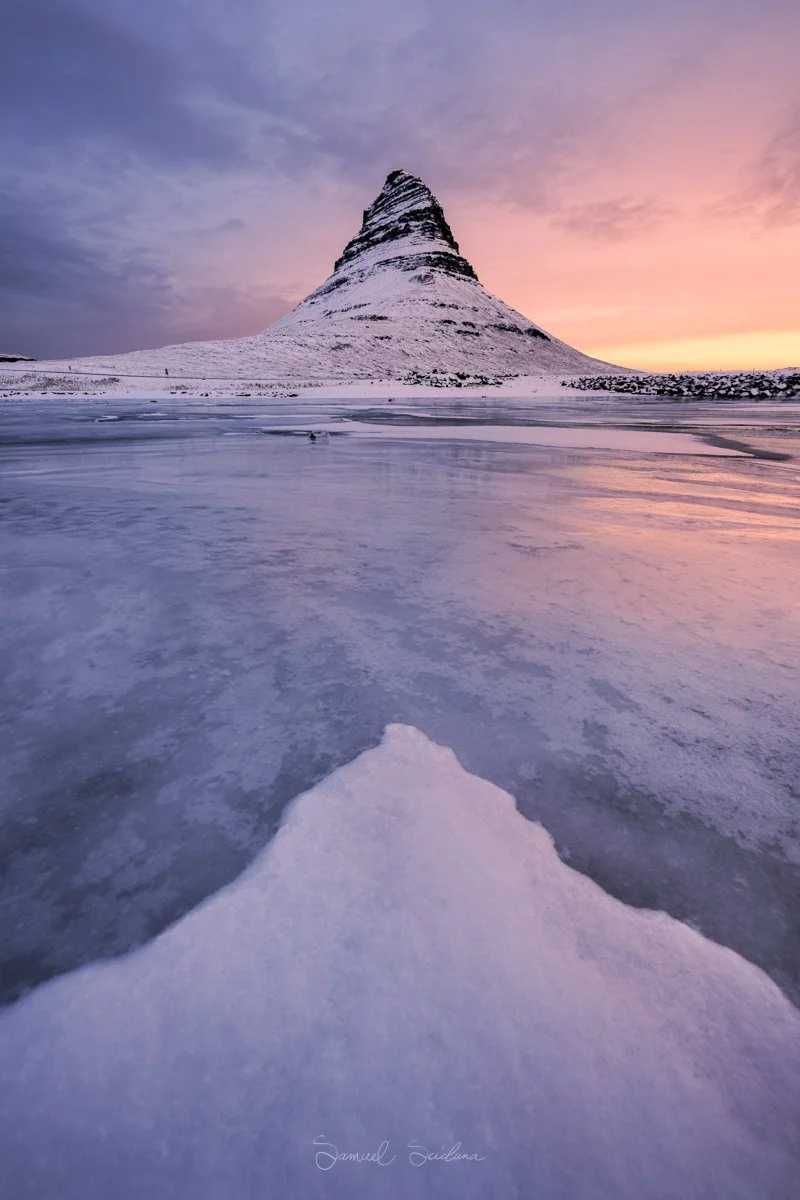
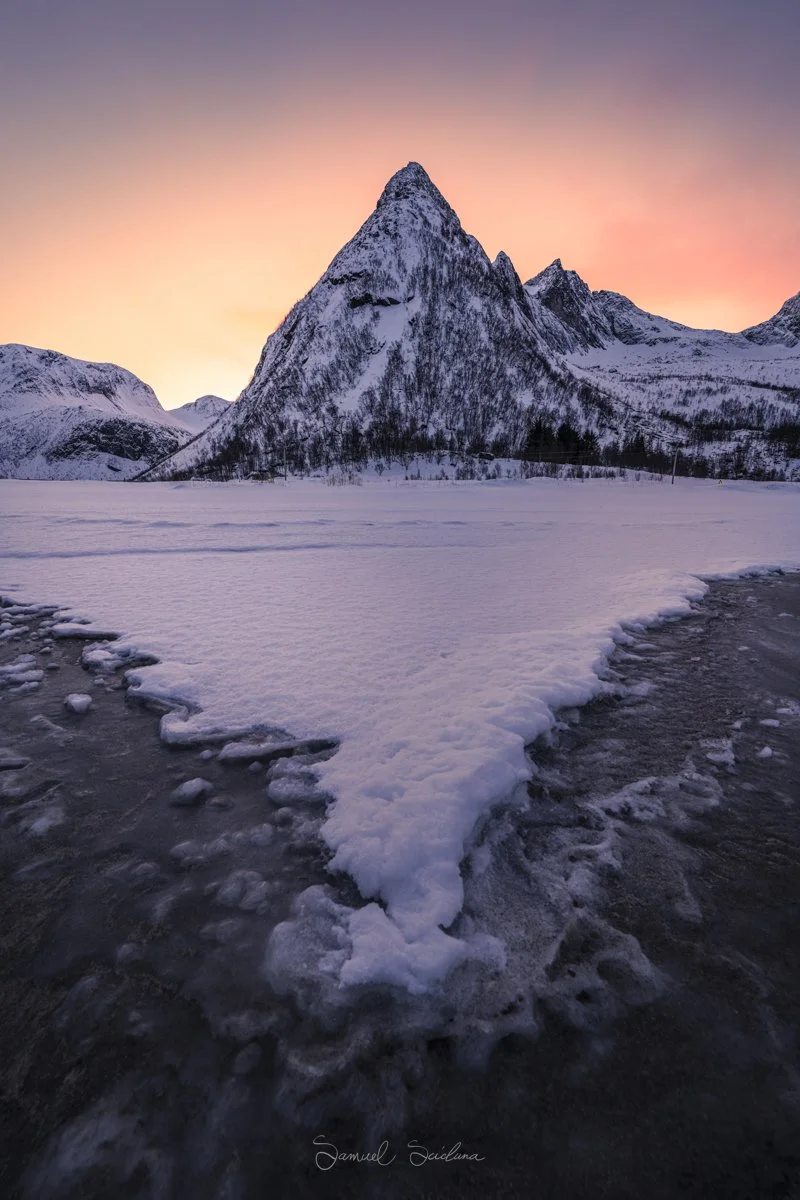
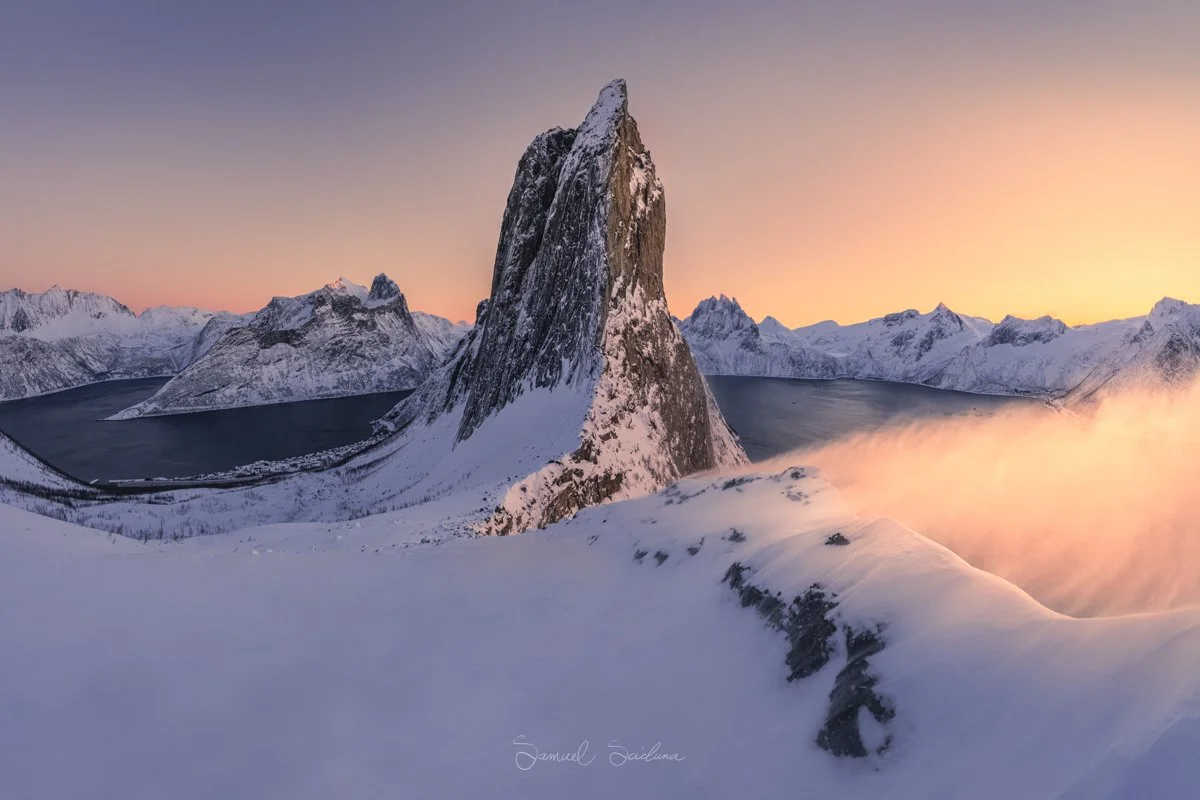
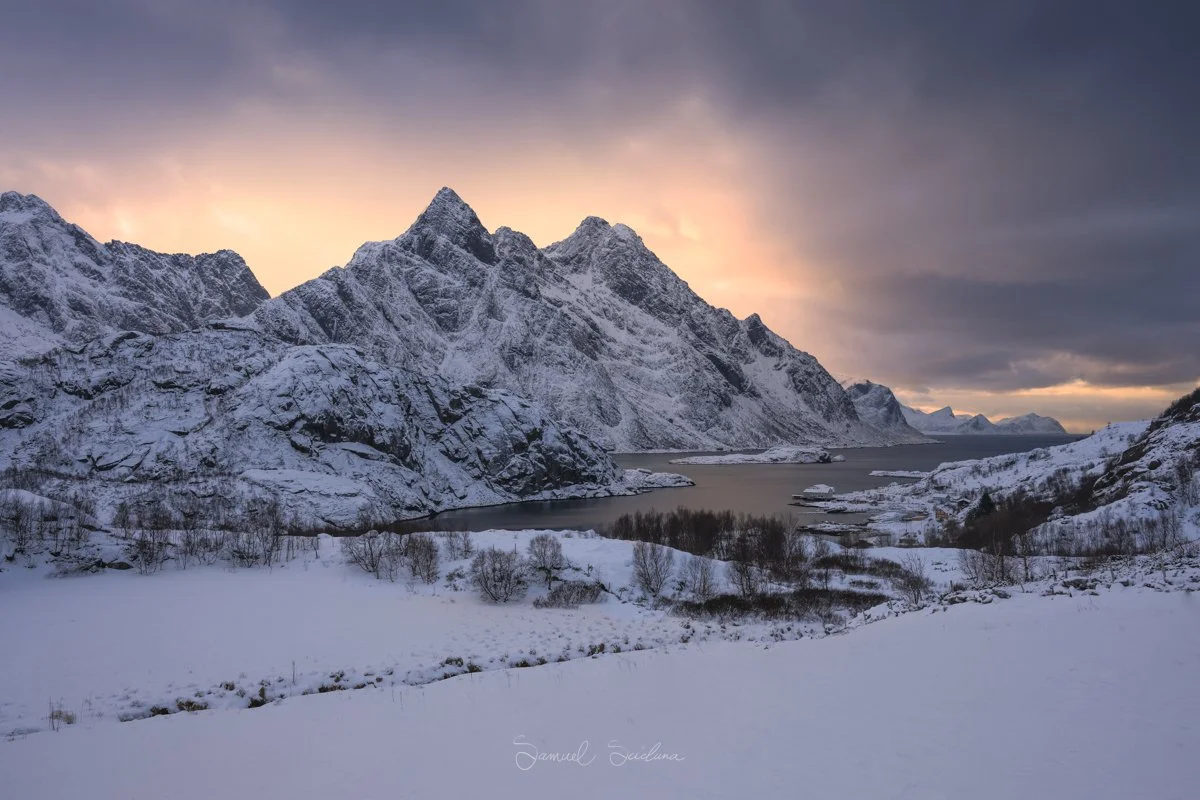
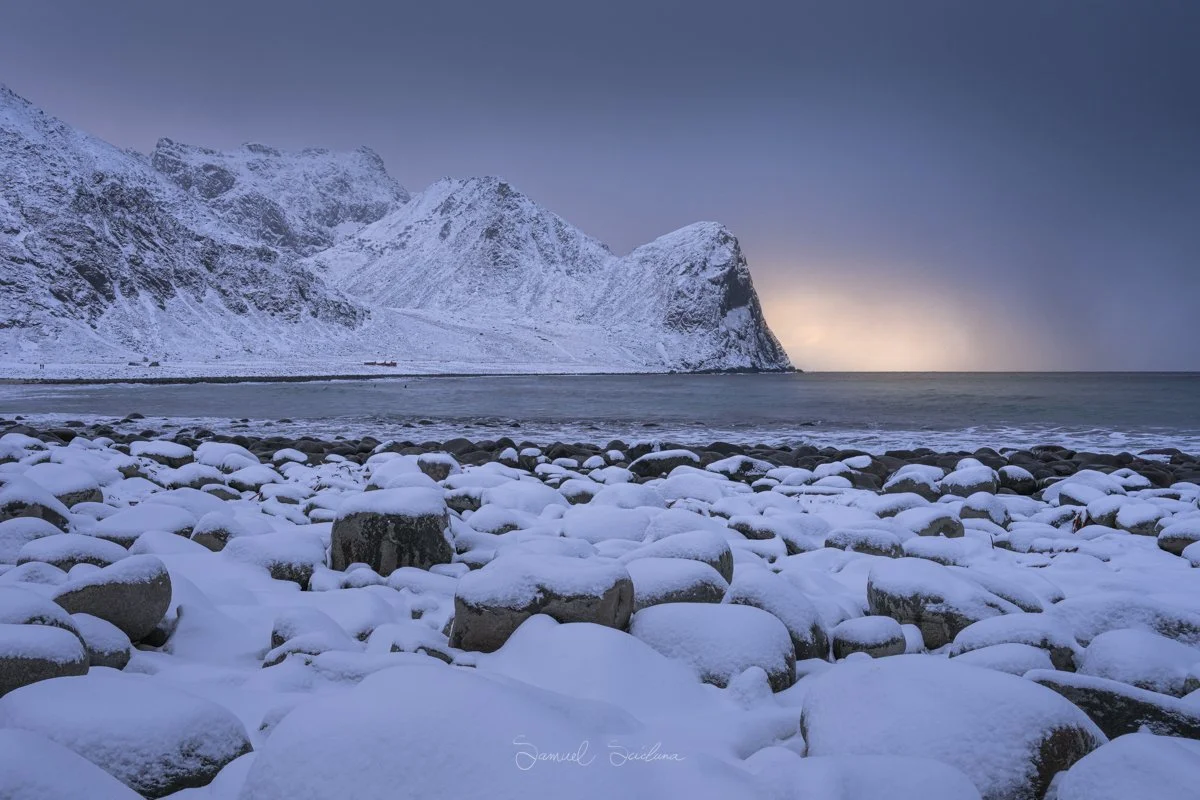
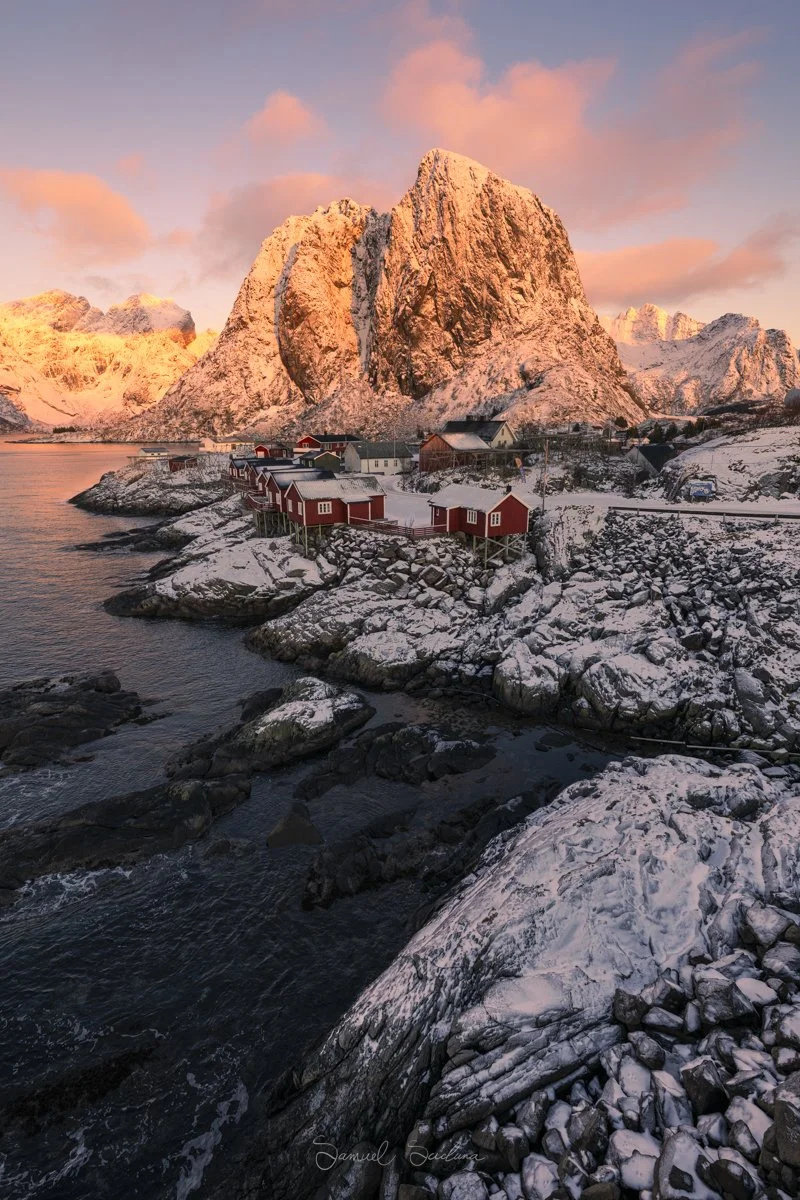
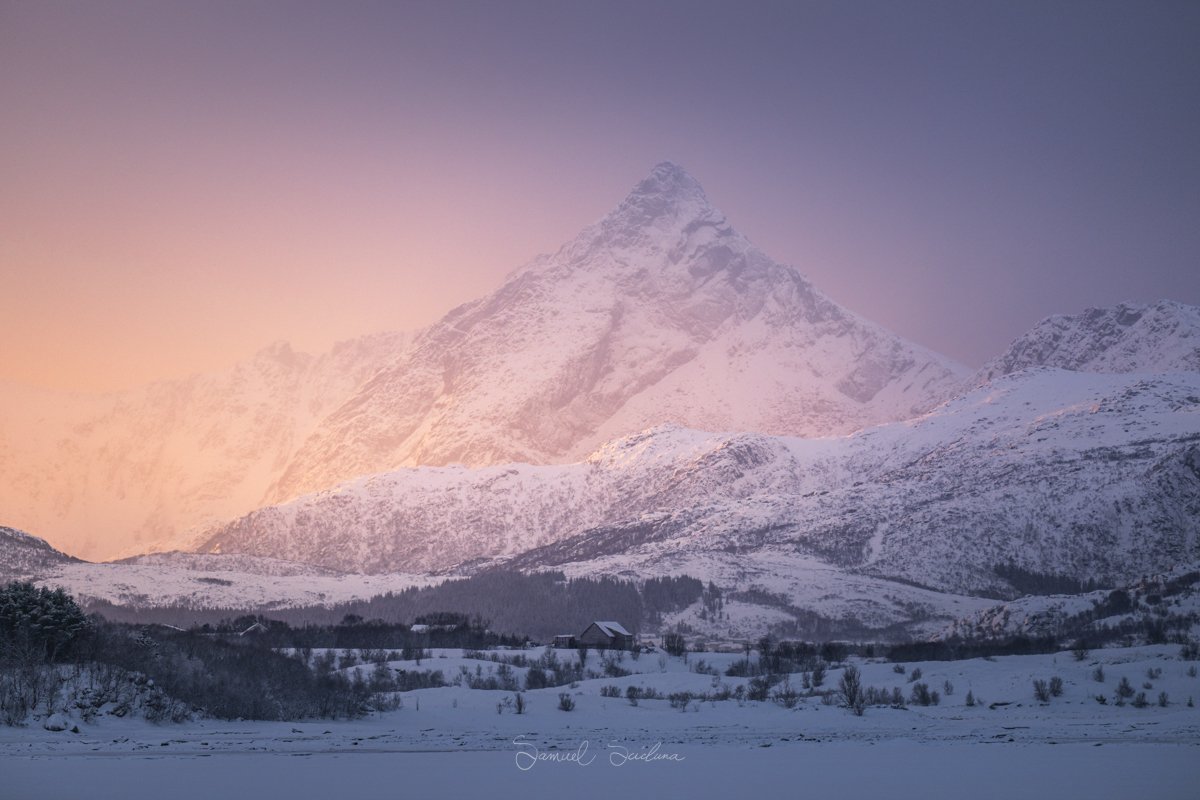
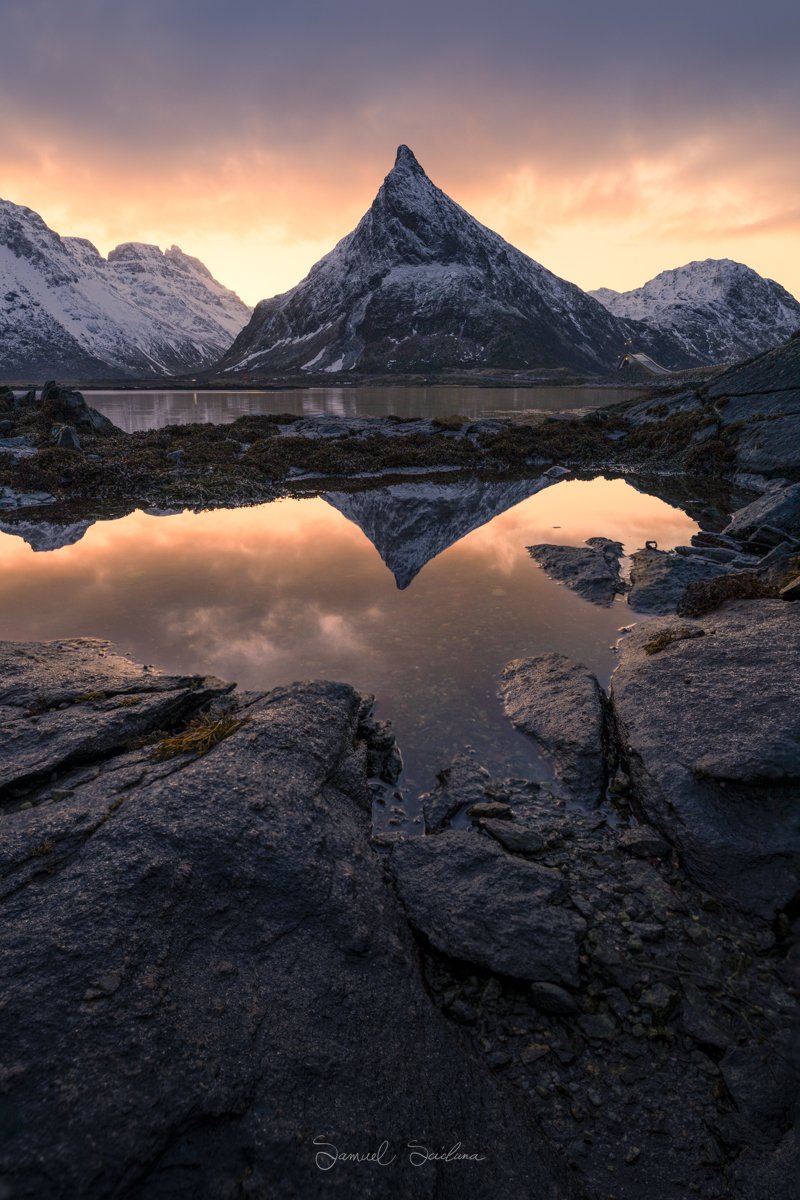
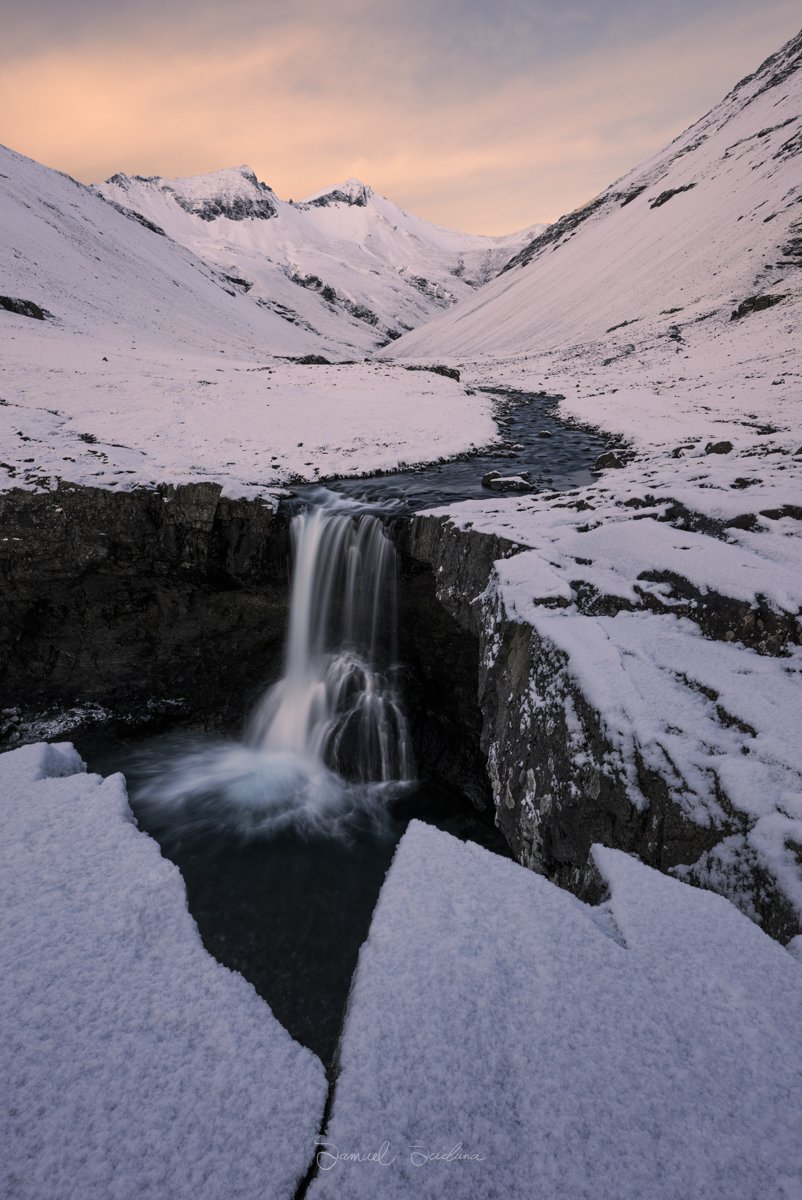
Below is a gallery of some of my favourite shots from winter in various locations.