
Capturing the incredible blue hues of an Icelandic ice cave is a bucket-list experience for many photographers. However, the combination of extremely low light, high-contrast cave entrances, and a wet, freezing environment makes it one of the most challenging and technical shoots you will ever undertake. I recently wrote another blog about understanding ice caves. You can read that here.
Follow this step-by-step guide to bring home professional-quality images of these "Sapphires of the North."


Essential Gear
Before you step onto the glacier, ensure your camera bag contains:
Wide-Angle Lens: A 14–24mm or 16–35mm is ideal. Caves are cramped, theyre not always very big, and you need the wide field of view to capture the whole scene.
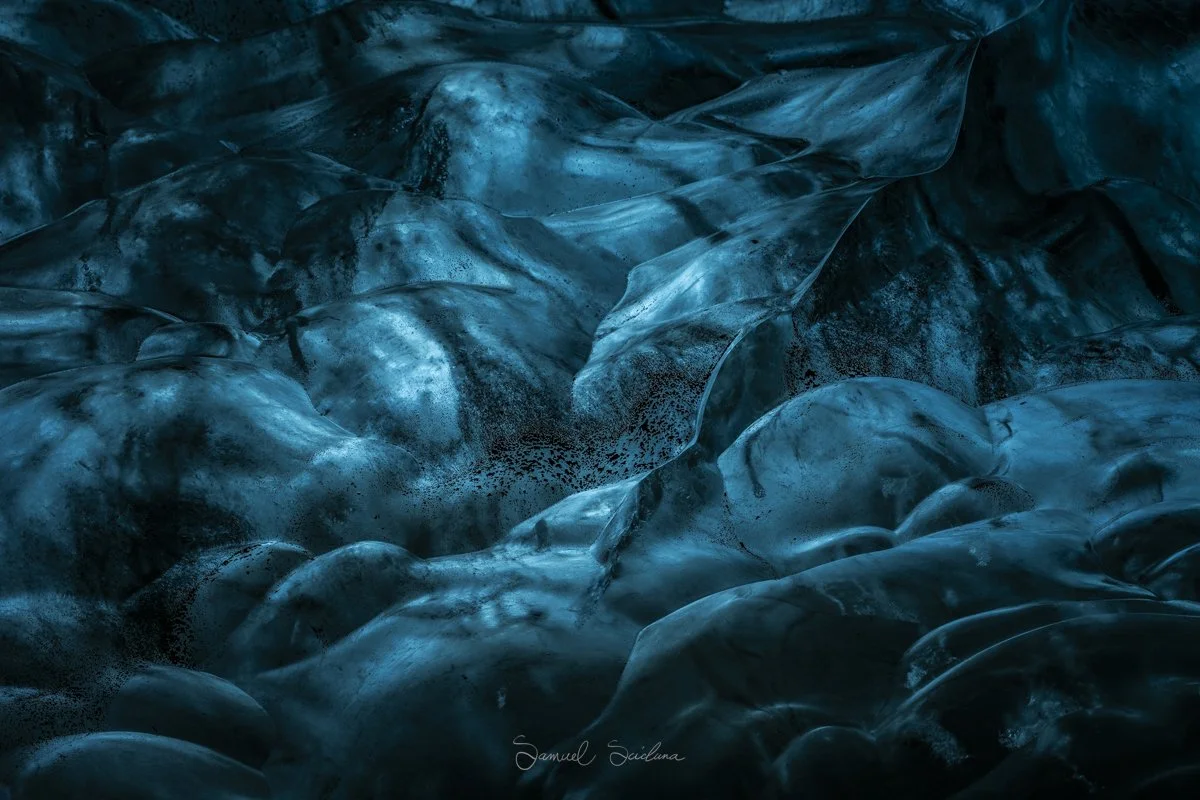
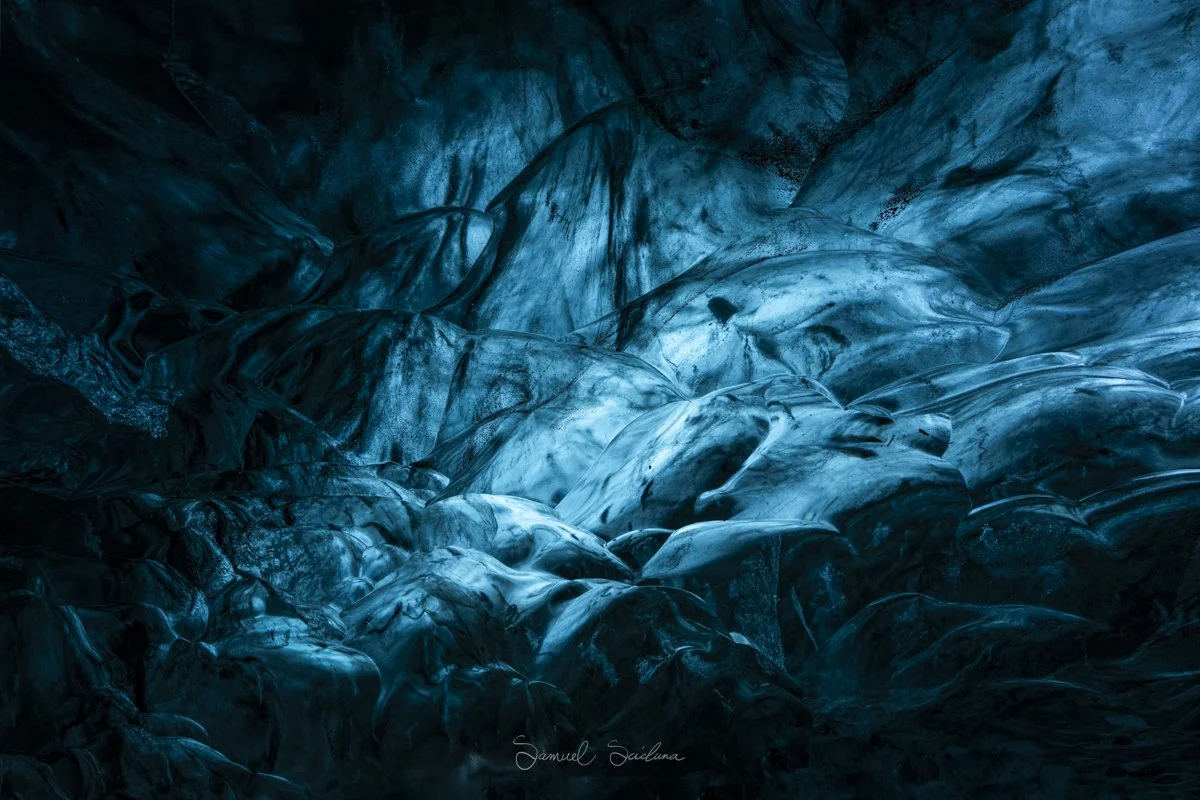
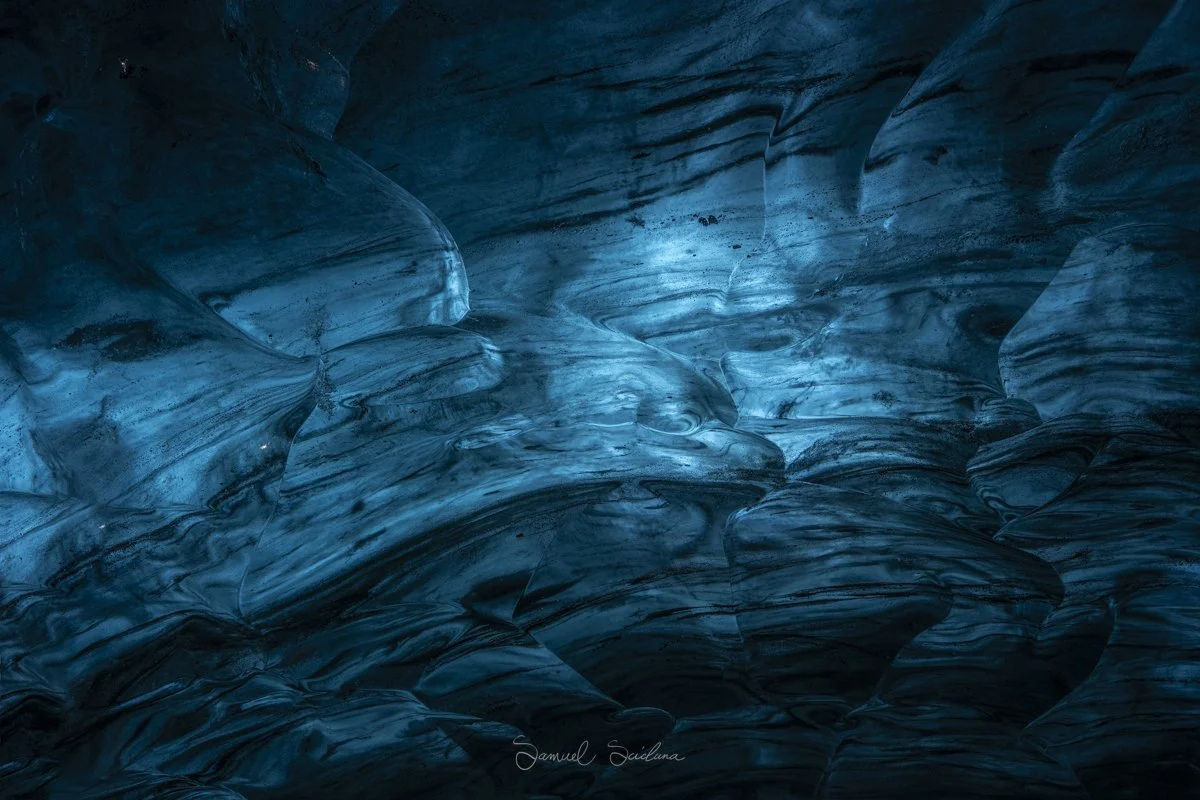
Mid-range Lens: Whilst wide-angle shots give a sense of place, mid-range lenses can help you capture more abstract images of the beautiful patterns and textures in the ice and the interplay of the light and the ice.
Sturdy Tripod: Non-negotiable. You will be shooting exposures lasting several seconds. Attaching spikes or claws to your tripod feet can also give you additional stability.
Remote Shutter or Self-Timer: Touching the camera causes vibration. Use a 2-second timer or a remote release to avoid this.
Microfiber Cloths: Ice caves tend to be very wet, and sometimes quite humid too. Condensation is your enemy. Ensure you have several microfibre cloths as you will be constantly wiping droplets off your lens.
Extra Batteries: The cold drains batteries very quickly, keep spares in an inner pocket close to your body heat to give you better battery life, but also to make battery changing quick and efficient.
Warm Layers: It’s essential to be comfortable whilst shooting, wearing hardshell (Waterproof) trousers and jackets will help keep you from getting wet as cold water drips from the walls and ceiling of the ice cave.
Pro Tip: Ensure you put a fresh battery and memory card in your camera before getting to the Ice Cave. Time is usually limited in the ice caves, so you don’t want to waste any time having to change a battery or memory card.
2. Shooting Guide
Step 1: Stability
The cave floor is often a mix of ice and wet rocks. Set your tripod legs firmly. If you are on pure ice, press the tripod spikes (if you have them) into the surface to prevent "tripod creep" during long exposures.
Step 2: Composition and Scale
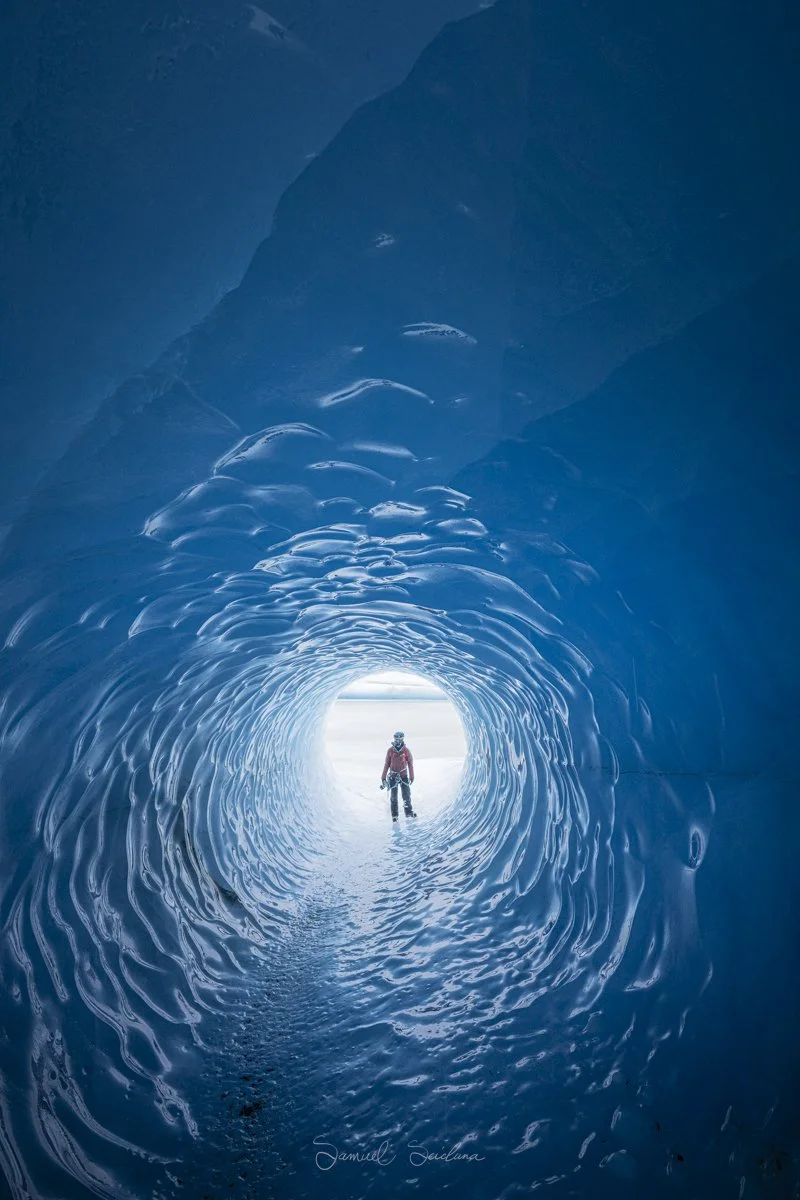
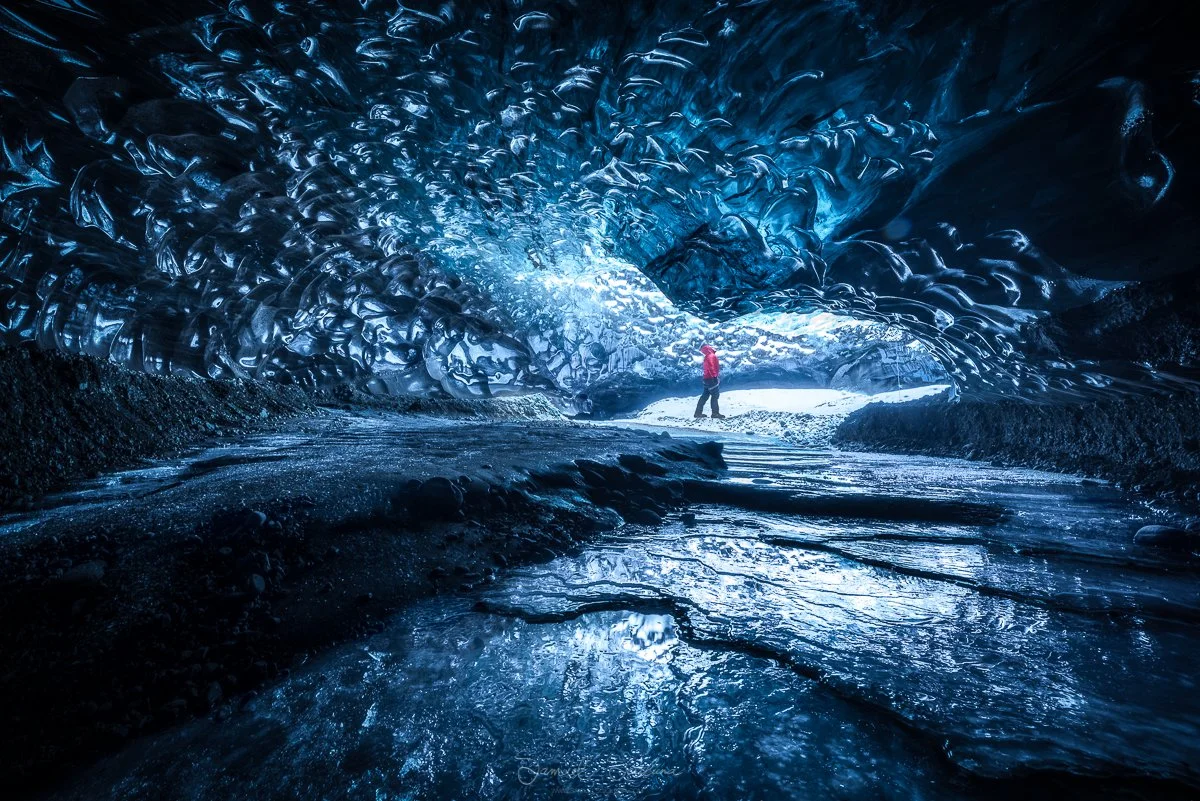
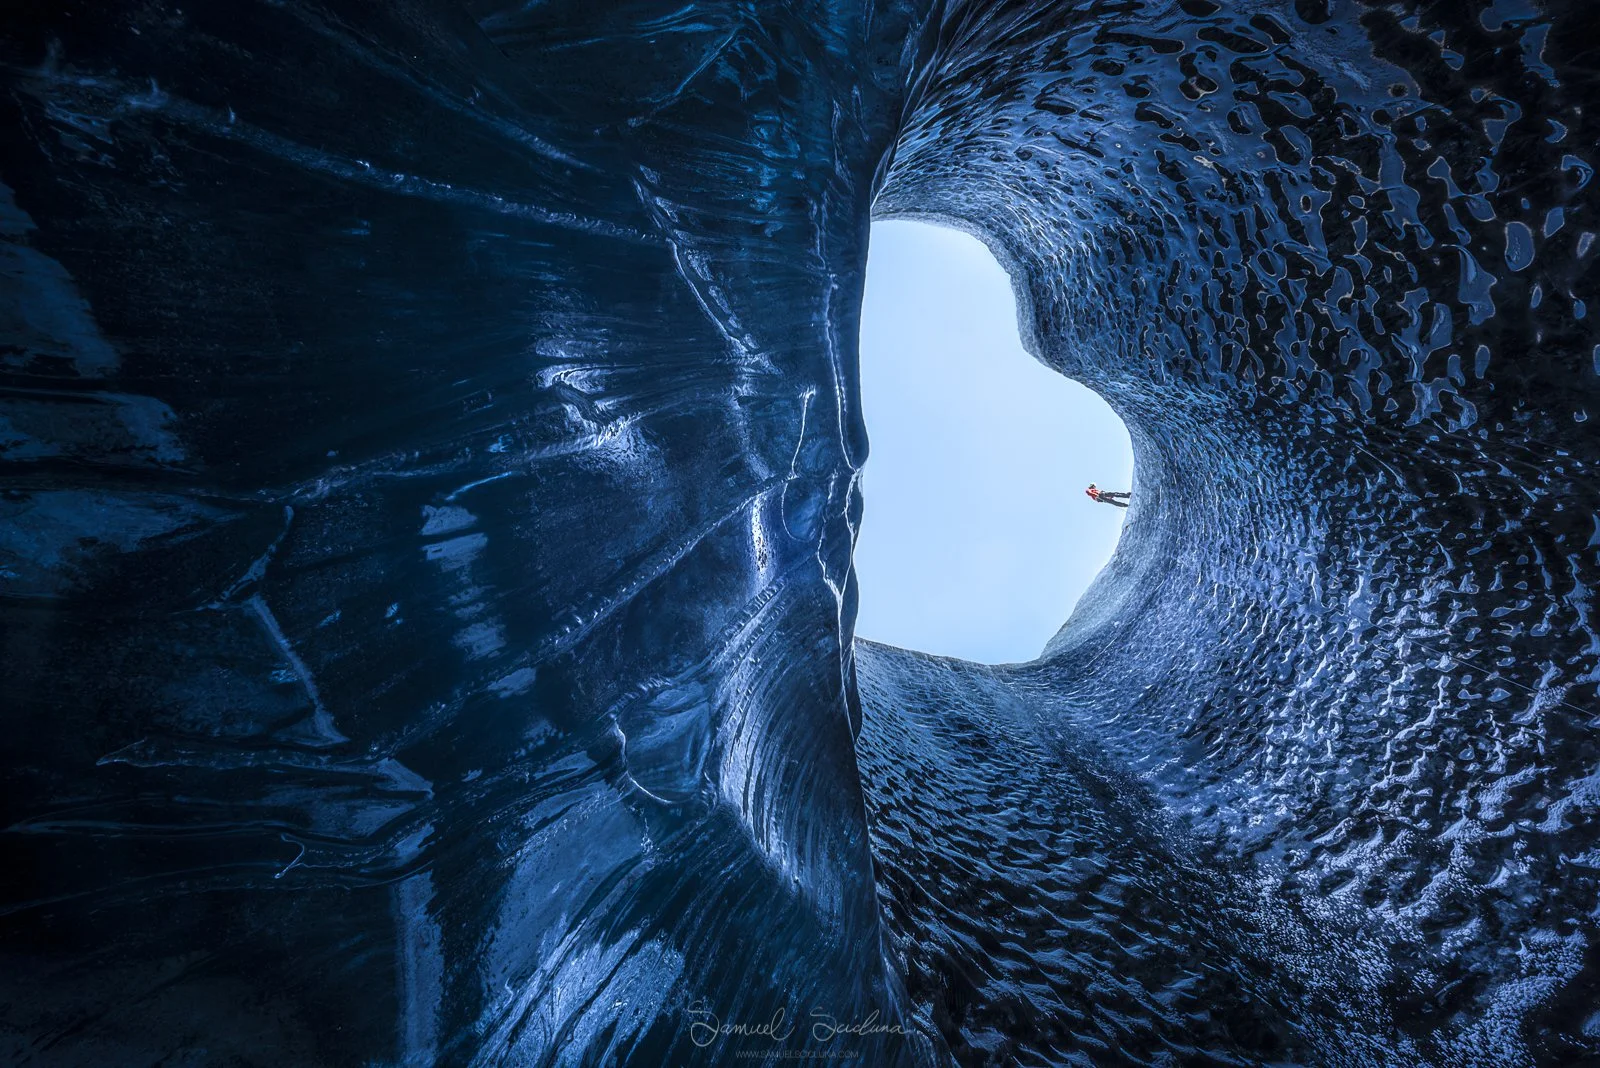
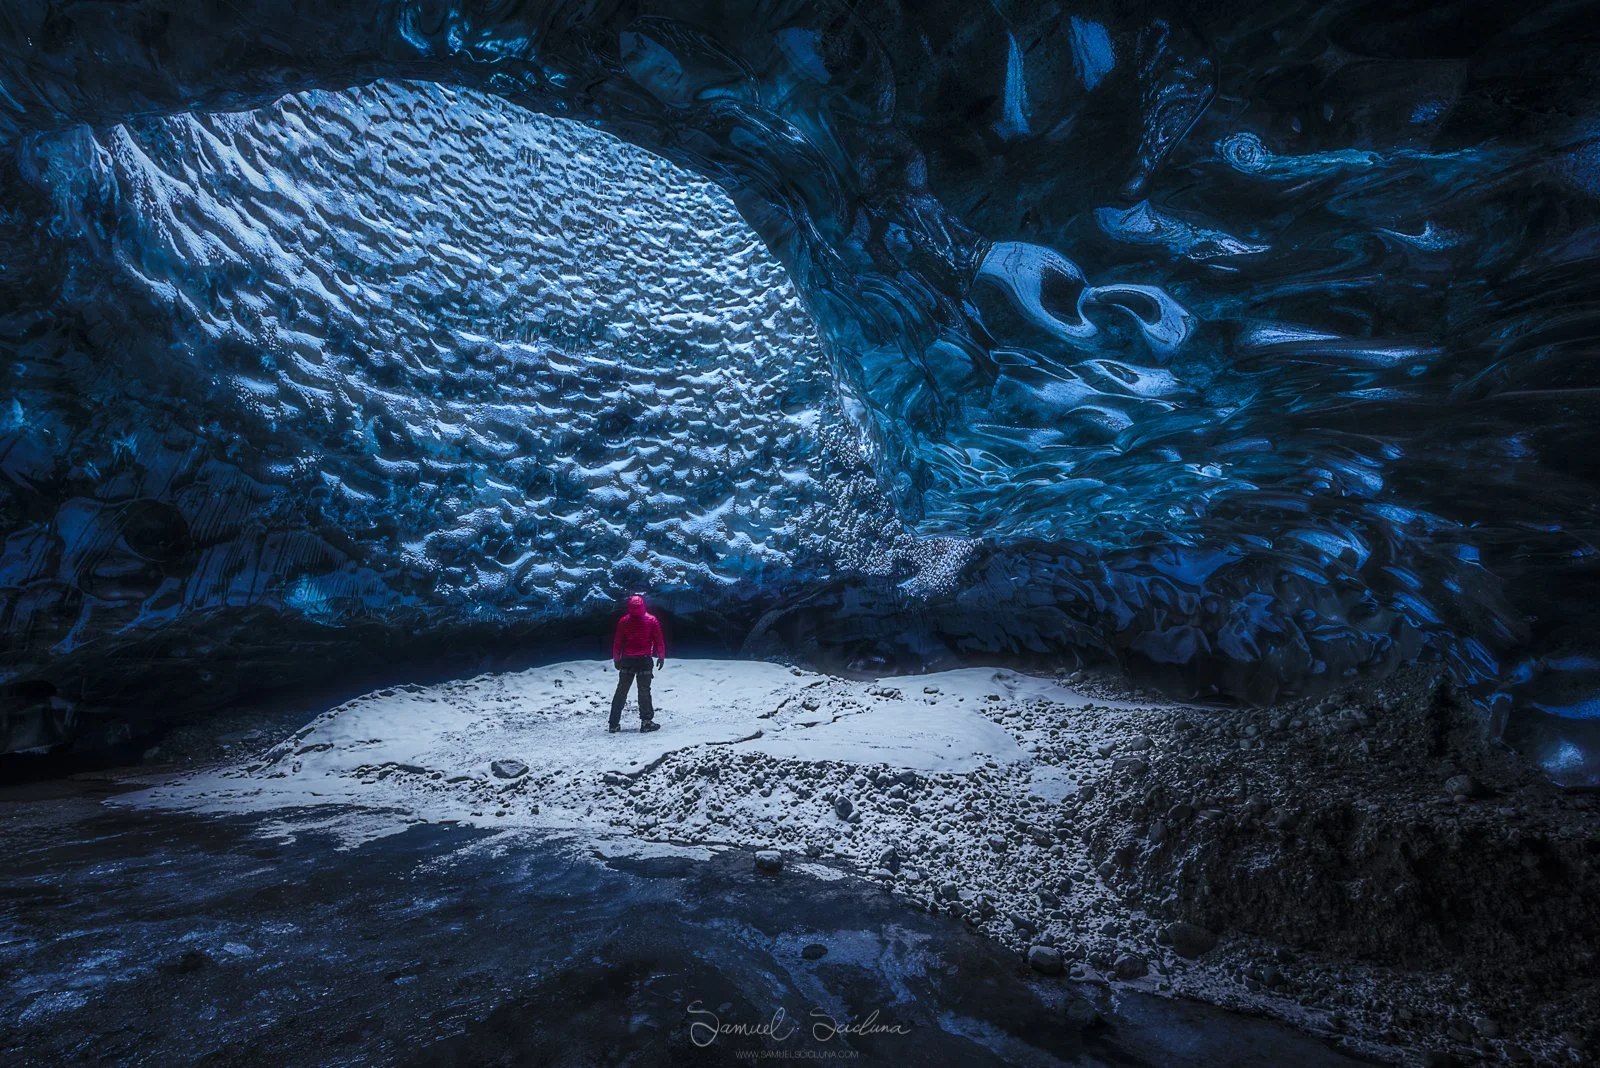
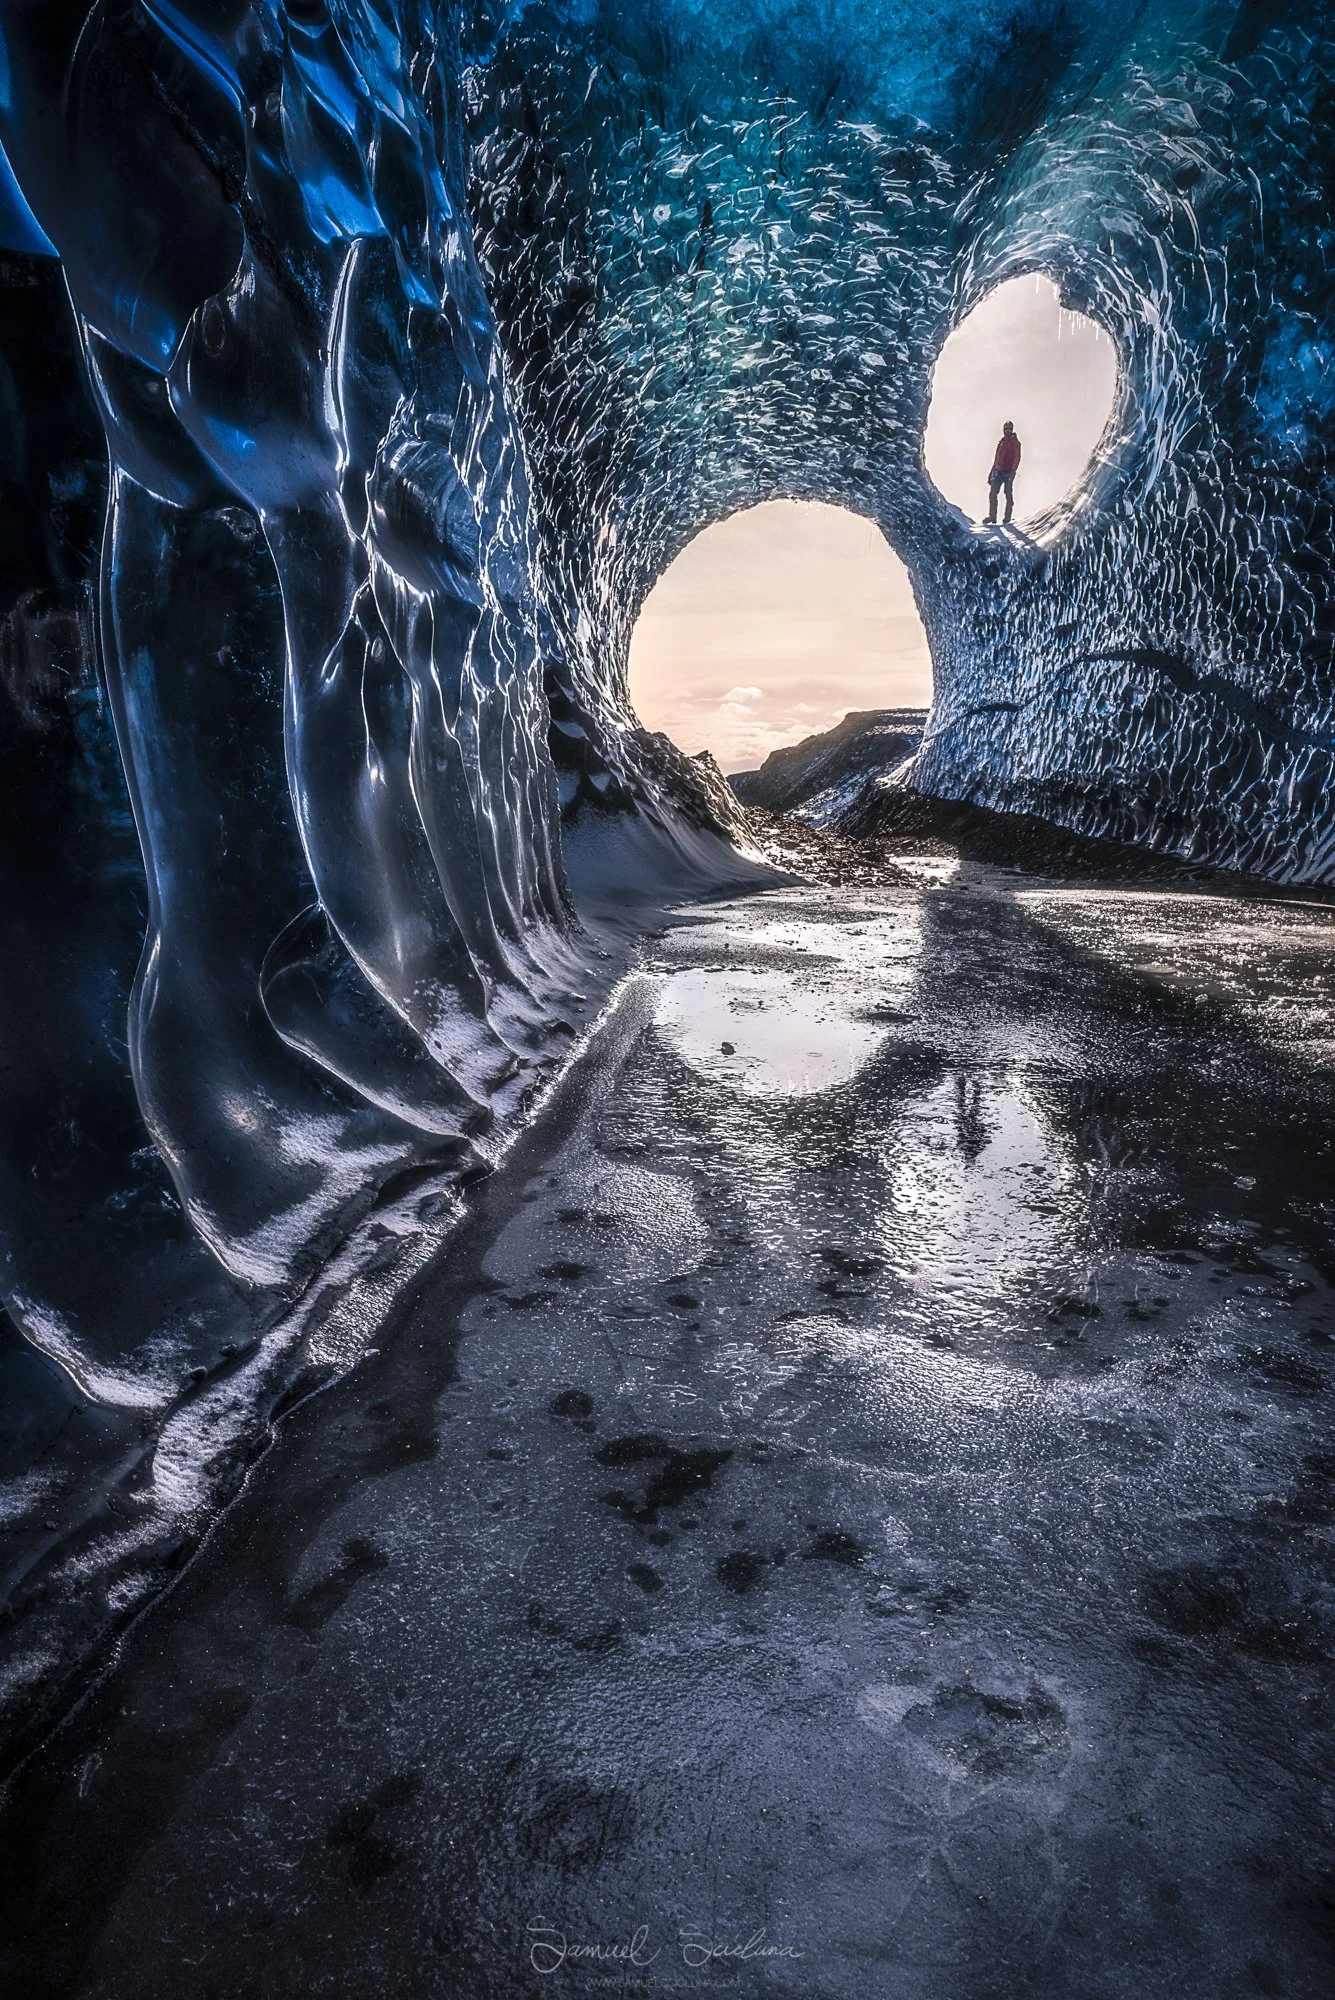
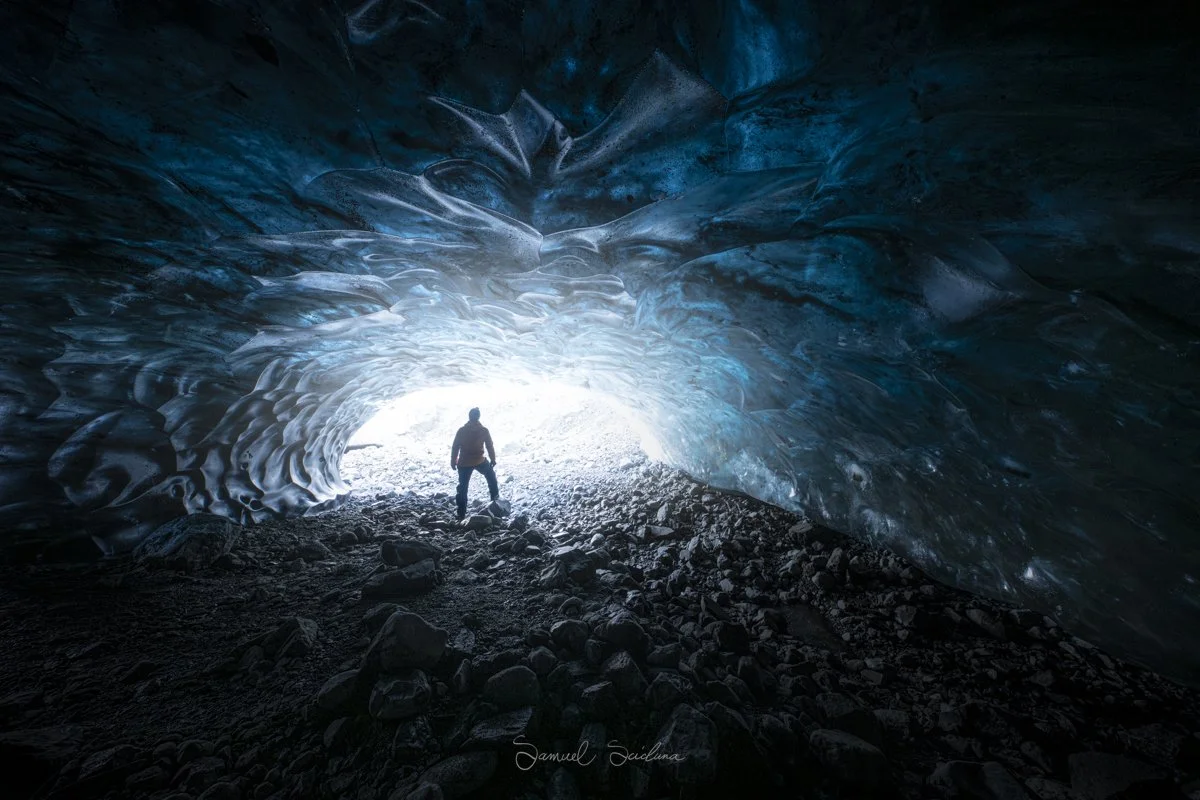
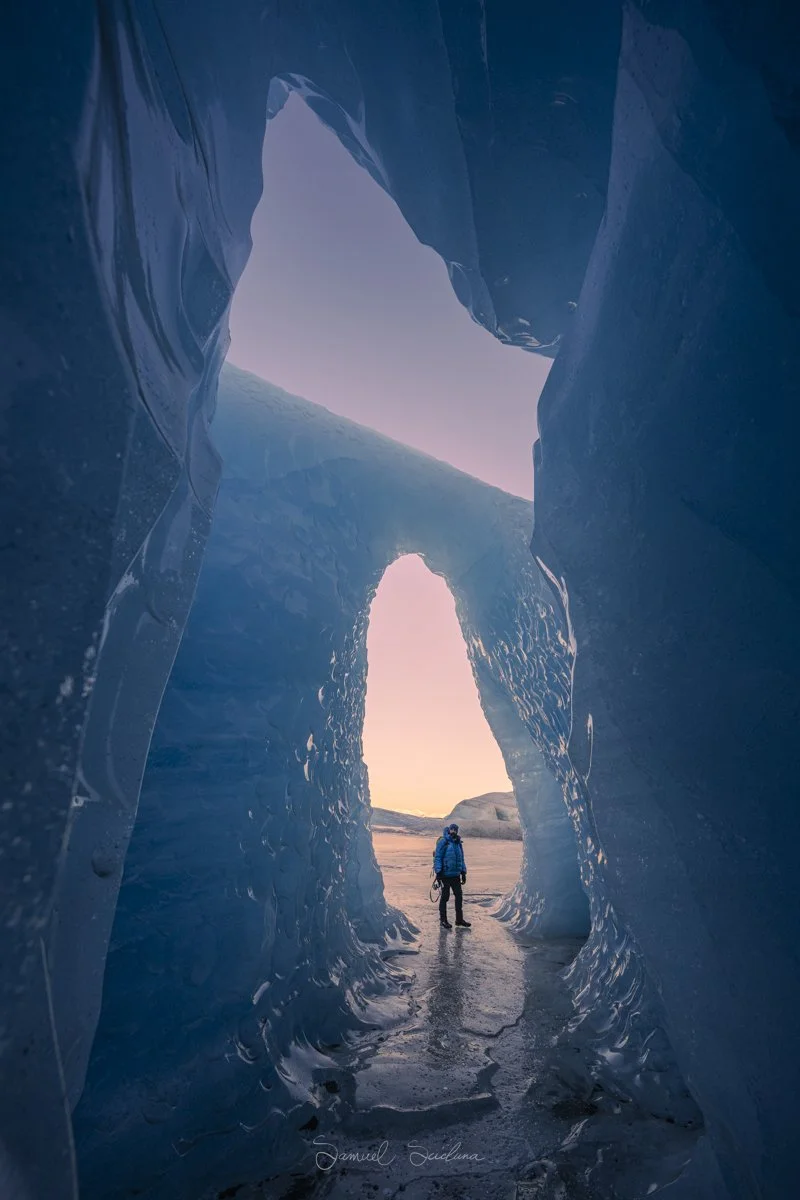
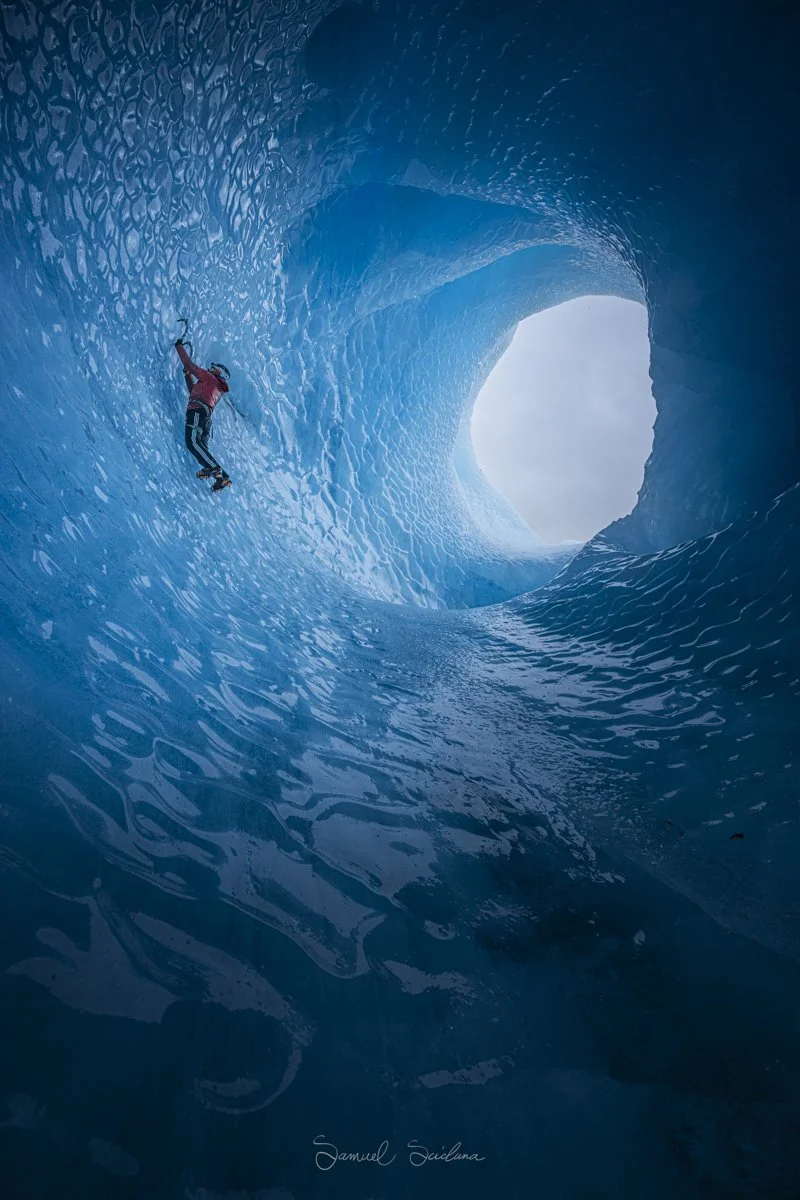
Look for leading lines in the scalloped ice walls that draw the eye toward your subject or the entrance of the cave. To show the true magnificence and scale, include a person in the frame (usually your guide).
Pro Tip: Have your subject wear a bright red or orange jacket to contrast against the deep blue ice.
Step 3: Focus
Autofocus will often "hunt" and fail in the dim, low-light interior of a cave.
Switch to Manual Focus (M).
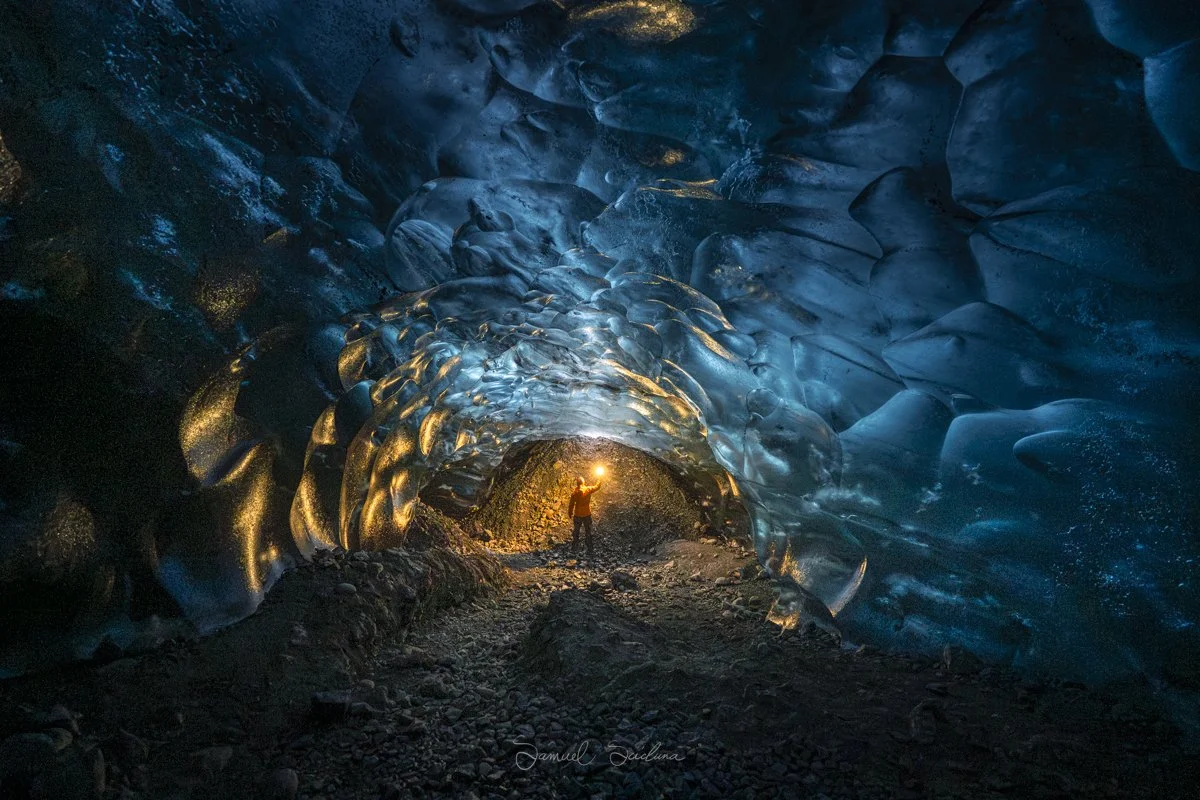
Use a Light Source: Ask a friend or guide to shine a bright headlamp on a specific texture or crack in the ice about 1/3 of the way into your frame.
Magnify: Turn on "Live View," zoom in digitally on the illuminated area, and turn the focus ring until the ice crystals look tack-sharp.

Step 4: Aperture
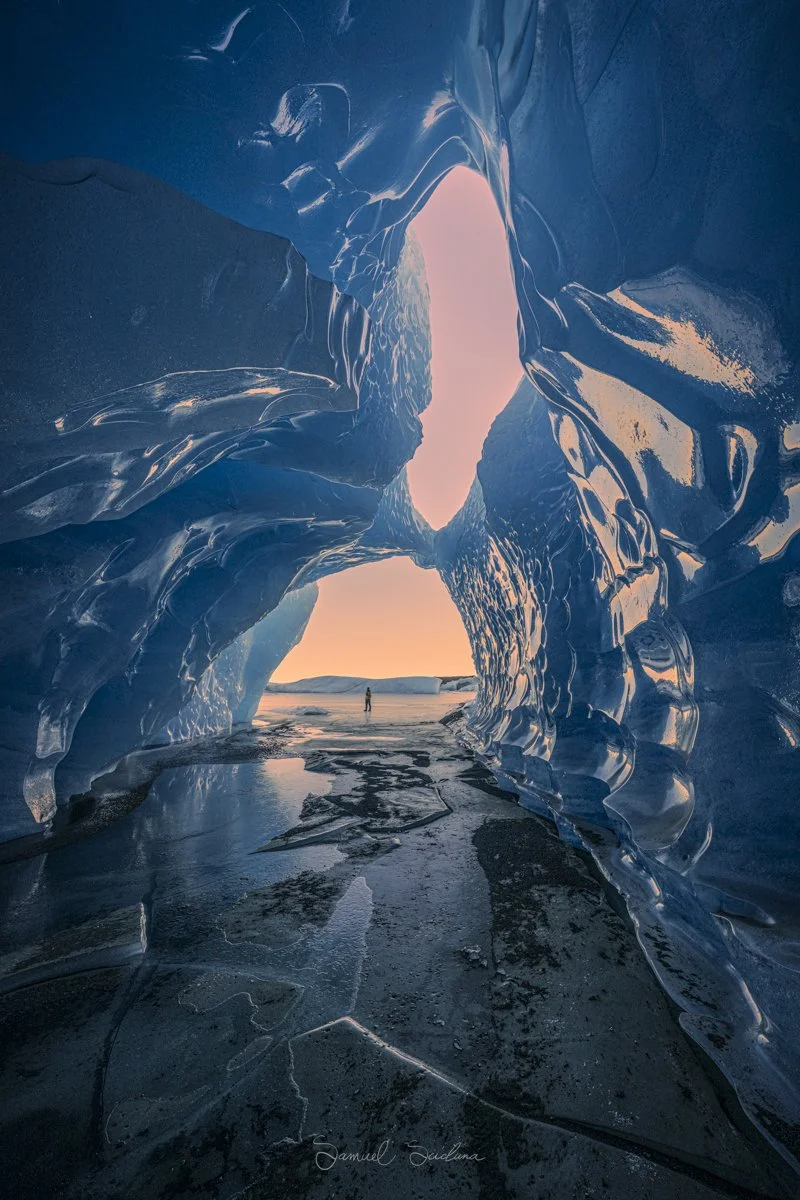
To keep the foreground ice and the distant cave walls sharp, use an aperture between f/8 and f/11. This provides a deep Depth of Field (DOF). While f/2.8 lets in more light, it will make the background blurry, which often loses the "cathedral" feel of the cave.
Step 5: ISO and Shutter Speed
Since you are on a tripod, keep your ISO low (100–400) to avoid grain. Your shutter speed will likely be long—anywhere from 1 to 30 seconds, depending on how deep you are in the cave.
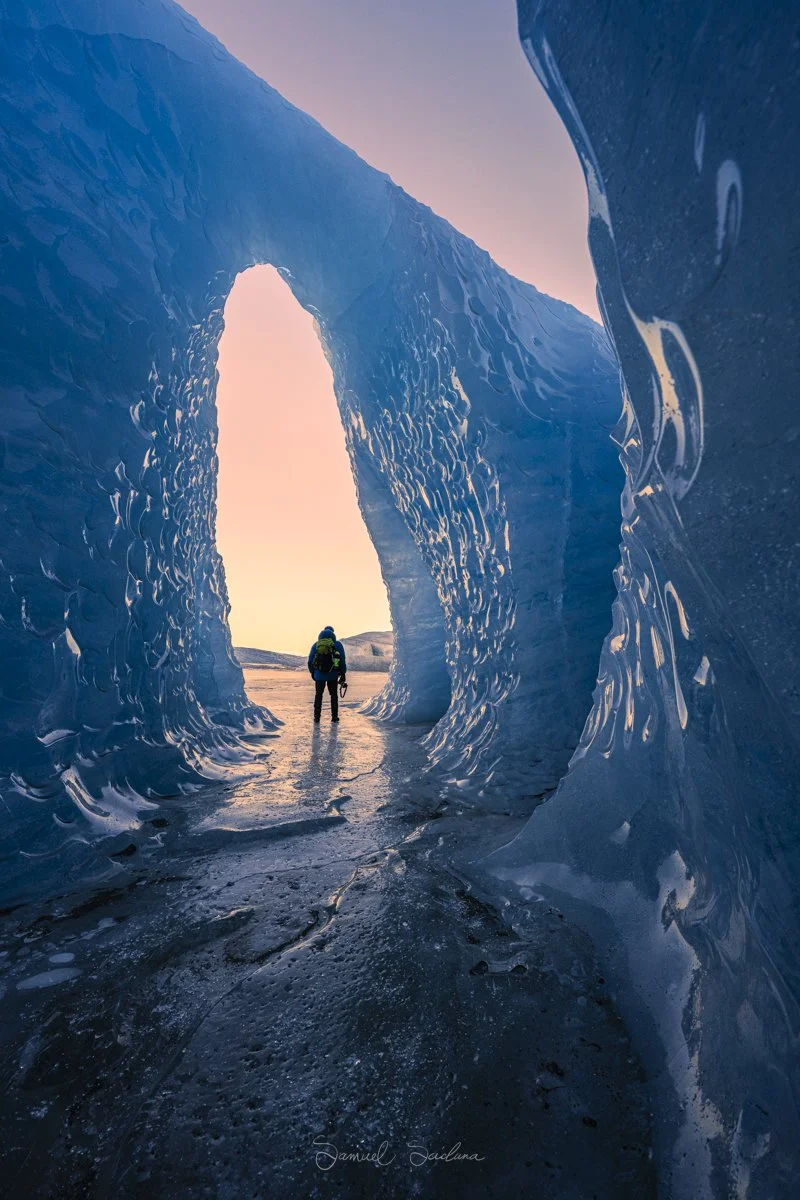
In post-processing (Lightroom/Photoshop), you can blend these images into a single file with a high dynamic range, enabling you to see detail in both the dark ice and the bright sky outside.

3. Join a Licensed Photography Tour
Standard ‘Tourist’ tours are often rushed, with 20+ people in the cave at once. For serious photography, book a Photography-Specific Tour.
Why? These tours are led by professional photographers and guides who will help you work more efficiently by advising what settings to use and by coordinating with other guides to avoid having too many people walking around in the cave whilst you are shooting.
Access: They often visit more remote, "private" caves or go during off-peak hours so you don't have stray tourists in your shots.
Safety: Ice caves are high-risk zones. Glaciers move, and caves can collapse or flood. A licensed guide monitors the structural integrity of the ice and provides the necessary helmets and crampons you need to move safely.
If photographing an Ice Cave is on your bucket list, you can join one of my Winter Iceland tours, where we go on a private tour, just for our group, to find and shoot these incredible wonders of nature! You can see all available tours here.