
BenQ has recently launched the SW270C monitor, the successor to the hugely popular SW2700PT. I received this monitor 6 weeks ago and have now spent hundreds of hours using this monitor for my workflow prior to writing this review to ensure that this review is detailed, fair and transparent. I have tried editing all sorts of different photos, from bright and colourful sunrise shots, to dark night shots to really see the full capability of this monitor.
Transparency Disclaimer: This monitor was sent for free by BenQ to use and review; I am not being paid by BenQ to write this review, and therefore this review is purely based on my honest experience using the monitor and how I have found it compared to other monitors I have used.

BenQ SW270C Monitor Key Features
Wide Colour gamut
High Resolution (2K – 2564 x 1440 Pixels)
IPS Panel (Wide angle viewing)
16-Bit 3D LUT Colour Accuracy
Colour and Brightness Uniformity
Hardware Calibration (BenQ’s Palette Master Element)
HDR Mode (Closer match to the human eye)
One cable calibration (USB Type-C)
Hotkey Puck G2
Gamut Duo (View 2 different colour spaces at the same time)
Shading Hood (Helping block stray light / distractions)
B&W Mode
Mac Thunderbolt Compatibility
Pantone Validated and Verified by CalMAN
Built in SD Card reader

What do I look for in a monitor?
Colour accuracy: Ensuring my colours are accurate is vital to enabling me to realise my creative vision, if colours are even slightly off, it would cause havoc when printing my work.
Brightness Uniformity: Ensuring a uniform brightness across the screen (Including the corners) is essential, especially when editing night time images to avoid unnaturally brighter parts of the sky/foreground.
Calibration: A monitor which allows effective and frequent calibration is vital to ensuring that the above colour accuracy and brightness uniformity are maintained and that I can consistently produce a high quality of work which is consistent.
Matte monitor screen: Due to the nature of the environment where I do my editing, a matte monitor is a priority to avoid reflections and stray light which would contaminate the colours. The Matte finish on the SW270C paired with the hood means I have not had any issues with reflections and stray light affecting my workflow.

Consistent colours, even across multiple dislays
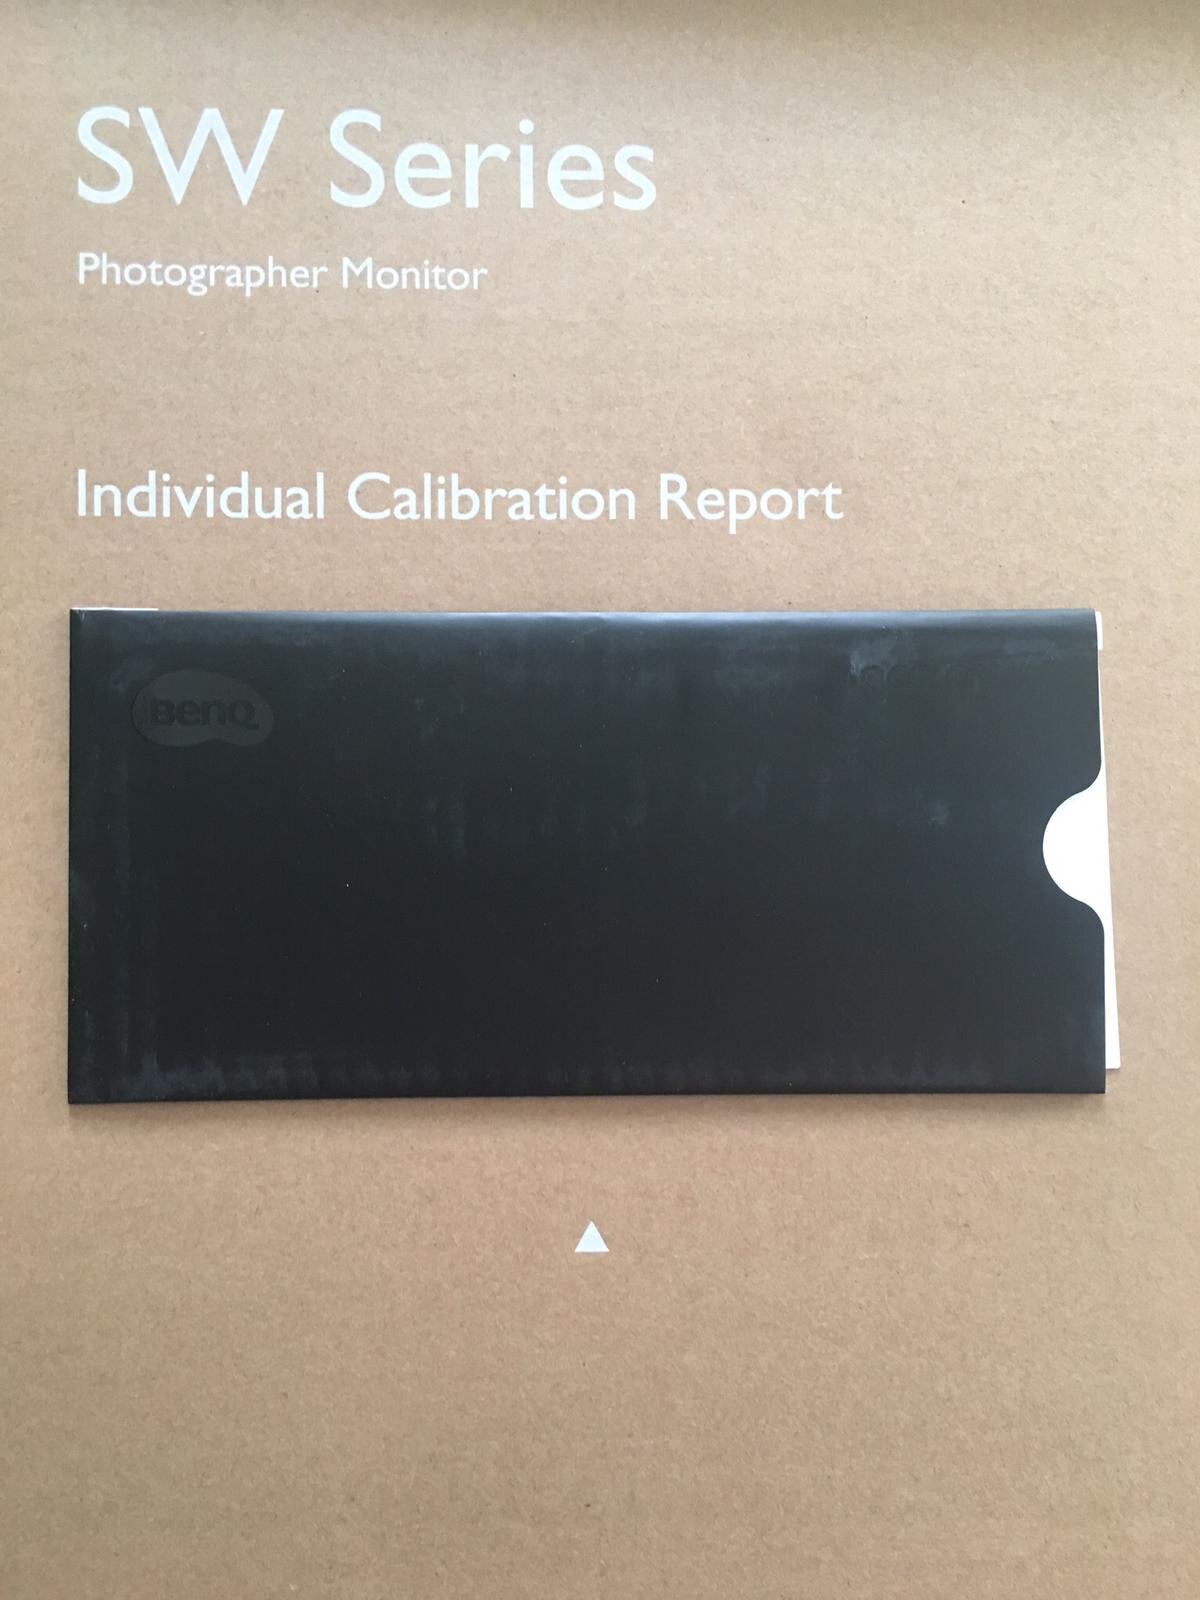
The individual Calibration Report for the SW270C
Unboxing
I’m not sure if it is simply the size of the box itself (Its Massive!), or how well packaged every single item is, but you instantly notice that BenQ are not cutting corners and want to ensure that their products are packaged well to ensure there is no risk of damage to any of the contents.
The first thing I found when I opened the box was the AQcolor calibration report from the factory. It is really reassuring that they go through the monumental task of factory calibrating each monitor and providing a report. This report (Below) shows that the monitor’s colour uniformity and colour space coverage.
The next thing which caught my eye when opening the box is the sleek look of the newly designed stand, it is solid and looks great! As you dig further, you’ll uncover the monitor itself, the power supply, the newly designed Hotkey Puck G2, a hood, an instruction manual and all necessary cables.

Setting up the monitor
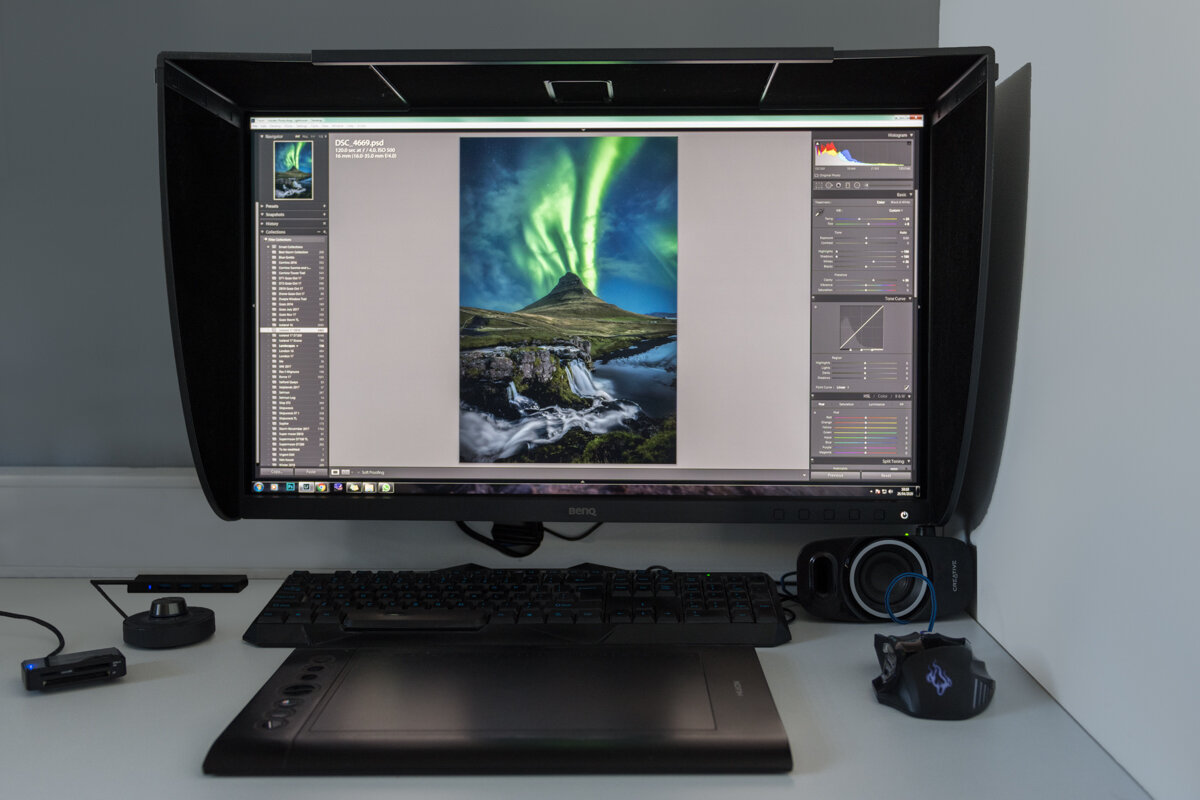
This is easy and only takes a couple of minutes. The stand is very well made, it is well weighted and balanced and allows full adjustability of the screen, including rotating it 90 degrees to view portrait images in full screen mode – This is an amazing idea! Kudos BenQ! Due to my limited desk area, I chose to forego using the stand and mounted my monitor to the wall using a standard VESA mount. This allows me to free up the space under the monitor for my keyboard, mouse and my drawing tablet.

Design
It is clear that BenQ were not just trying to make a functional monitor, but had design and aesthetic in mind. This is clear in the awesome finish and details of the monitor itself, the layout of the buttons, the Hotkey Puck and the stand.
The super slim bezel surrounding the monitor would make setting up 2 SW270C monitors side by side look like an almost continuous workspace. BenQ have clearly noted previous feedback and coated the monitor bezel with a material that minimises reflections to maintain the accuracy of the display, further enhancing photographer’s viewing experience.
The USB Type-C connection option is compatible with the latest Mac and Windows laptops, making it easier to start working and be productive. This single cable delivers video feed, audio feed, data and power.

Resolution
This monitor is a 2K monitor (QHD – 2560 x 1440). It seems that recently many photographers have been moving to higher resolution monitors such as 4K monitors, however I have personally found that 4K is too high a resolution, especially on smaller screens, due to the pixel per inch count being too high. The result of this is that it makes everything look better / sharper than it actually is, this then becomes visible when printing or viewing your work on a 6 inch mobile phone screen. I find that this monitor strikes the perfect balance with a resolution of 2560 x 1440, giving much more faithful and realistic comparisons to prints.
Colour Space
The SW270C gives you realistic colours and a faithful representation of your colours in prints. Switching through colour presets before getting into any calibration of my own, it's clear this monitor is ready to work. Colour is absolutely dazzling, and you can expect colour reproduction to hit 99% AdobeRGB, 97% DCI-P3, and 100% sRGB. The 10-bit display means the SW270C can put up more than a billion colours, and it has a 16-bit 3D lookup table (LUT) for accurate translation of colour between gamuts.

The Hotkey Puck
As with previous models, the SW270C allows you to adjust your working colour space at the touch of a button. It is a much more intuitive way of moving through menus and options and is great to quickly swap the screen to monotone (Black and White).
The newly designed hotkey puck G2 provides the user with a convenient way to customize shortcuts to their preferred features on the OSD. With 3 single function keys as well as a rotation key, the user can designate them to three most frequently used features at work. The dial facilitates the photographer to quickly go through the OSD menu and set up their preferred brightness, contrast and volume of the monitor.

Monitor Hood
What a simple yet effective idea! The hood really helps avoid stray light manipulating the luminance and colours of the screen, but also gives a sense of ‘tunnel vision’, avoiding any distractions in the background. The hood is very easy to assemble / remove, and also had a little window which can be opened when using a calibrator on the monitor.

Gamut Duo
Effectively, this means you can view an image with 2 different colours spaces. Although I haven’t needed to use Gamut Duo in my workflow, I did find it interesting to compare two different colour spaces, and it really shows how Adobe RGB seems to have the edge on other colour spaces. You can watch BenQ’s video on Gamut Duo Here (https://www.youtube.com/watch?v=bszToQ3-rF8)

Conclusion
So, after 200+ hours of using this monitor, what’s my verdict?

Cons:
The base of the stand takes up too much desk space (I have solved this problem by mounting the monitor to the wall, but this means I have lost the option to rotate my screen into a portrait orientation
The price might seem steep for someone just starting out in photography, however, BenQ has a large range of monitors with different specifications and sizes to meet different user’s needs

Pros:
Built in SD Card Reader to improve workflow
Uniform Colours and luminance across the screen
Accurate colours straight out of the box thanks to factory calibration
Super skinny bezel makes the monitor look very modern and aesthetically pleasing
Hot Puck allows you to quickly navigate through the menu
Perfect resolution for its size (Not 4K)

Verdict:
The sheer amount of functions dedicated to photographers shows that BenQ really mean business and are serious about branding this series of Photovue monitors for Photographers. The improvement in contrast, colour accuracy and the consistent luminance have really helped me be more confident in my work before I send it to be printed. I have previously had to make quick changes to my photos whilst at the printer as the colors and brightness were not quite right. Now though, I am confident that what I see on my BenQ SW270C is what I will get on a print.
The BenQ SW270C does everything it says on the tin, and then some! If you're in the market for a photography monitor, it's easy to recommend this as a great addition to your workflow. For the price you pay, you get accurate colour reproduction which will mean less time doubting what you see and more time being creative!
I have no doubt that from now on the BenQ SW270C will be my chosen monitor for photo editing.

Disclaimer
I have been sent this monitor for free by BenQ to use and review, I am not being paid by BenQ to write this review, and therefore this review is purely based on my experience using the monitor and how I have found it compared to other monitors I have used. When reviewing products I always aim to be objective and honest. Through use and testing, I will provide my feedback to BenQ on how I believe they can improve their future products, after all, BenQ has become market leaders at making products to suit photographers’ needs as they listen to their customers and implement the feedback they receive.
I have tried my best to be impartial and unbiased in this review.
I review gear as impartially as I can – When looking to buy a new product, I do loads of research and look at reviews. It is vital that the reviews are genuine and impartial, the last thing I would want is for someone to waste their hard-earned cash on something which will not give them the best value in return
The brands I partner with are the brands that I would spend my money on – I would never recommend a product for the sake of it, if I don’t find it suitable to my workflow or it doesn’t perform as I expected, I would not recommend it.
The name BenQ stands for “Bringing Enjoyment ‘N’ Quality to Life”, I think they have definitely lived up to their name with this great product, designed and built with photographers in mind.
